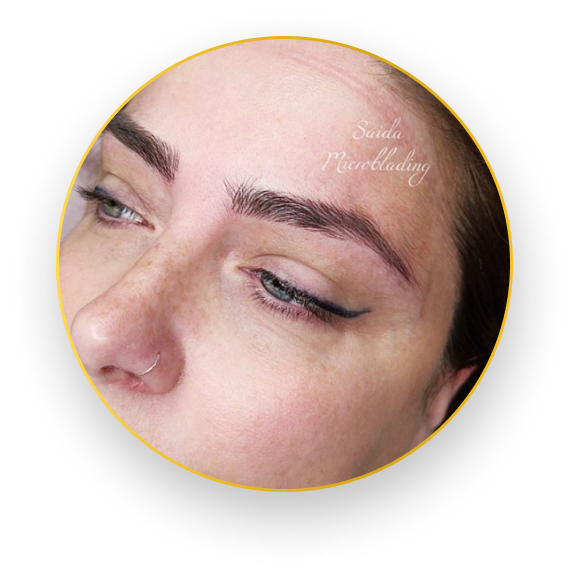
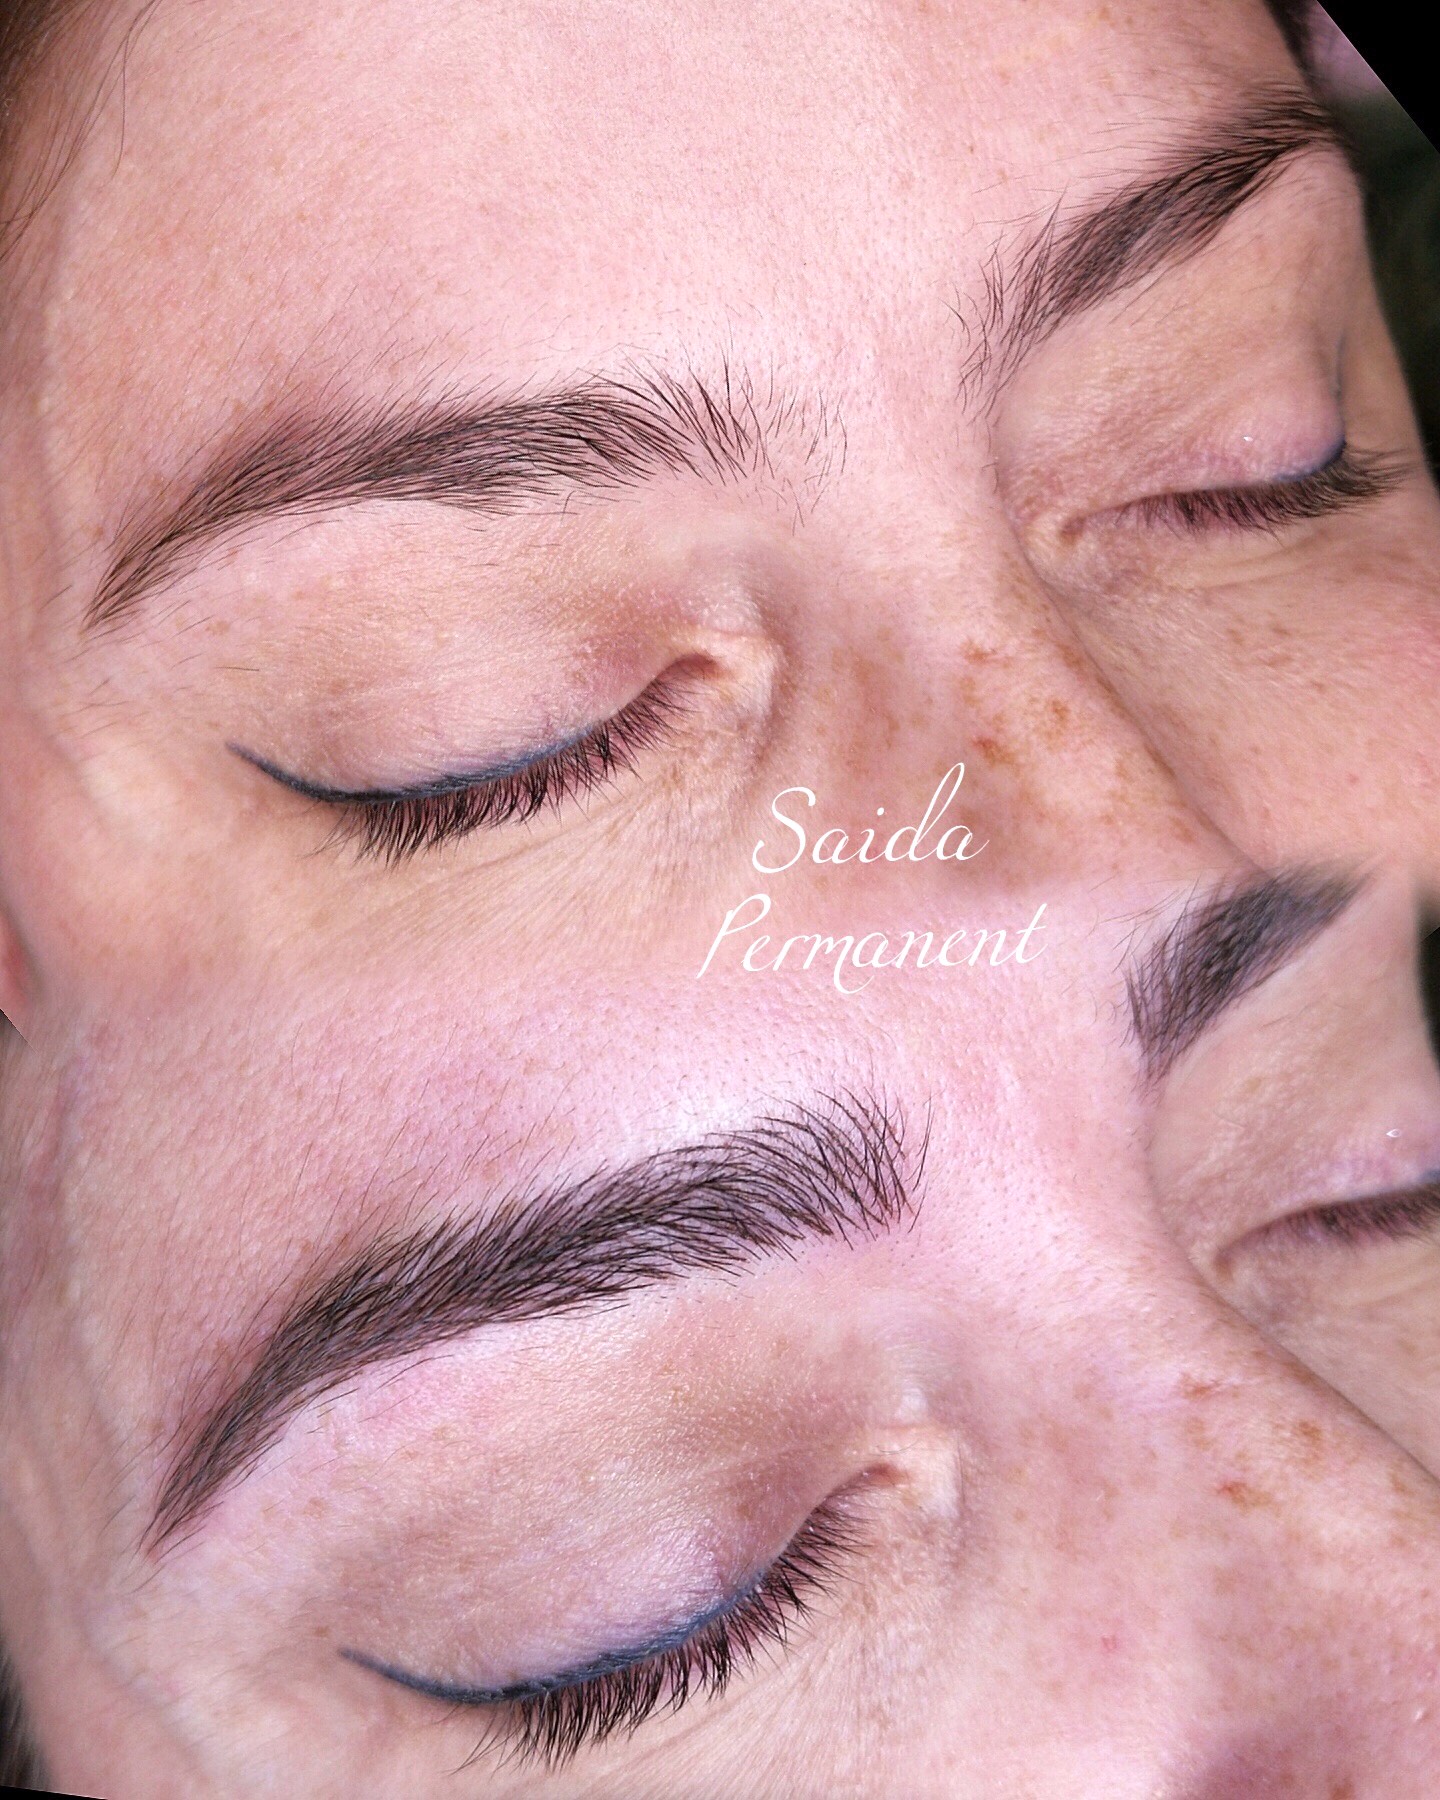
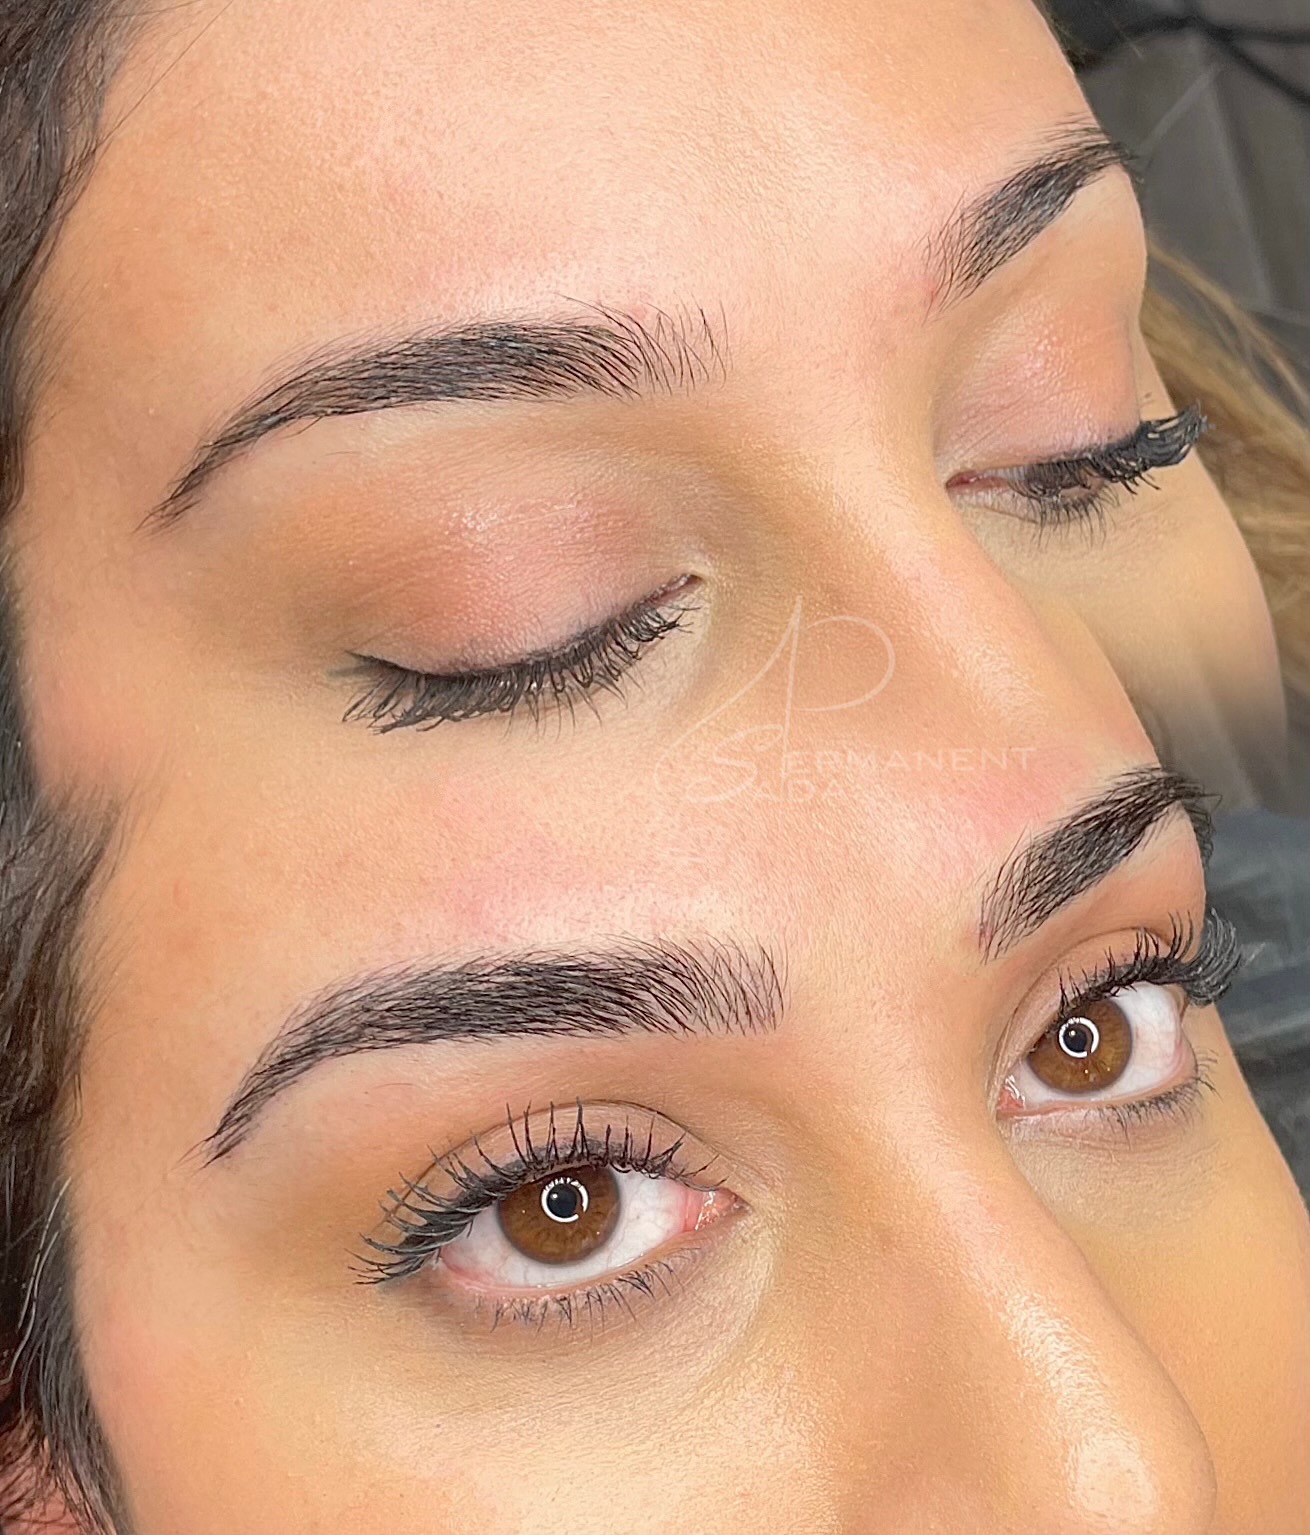
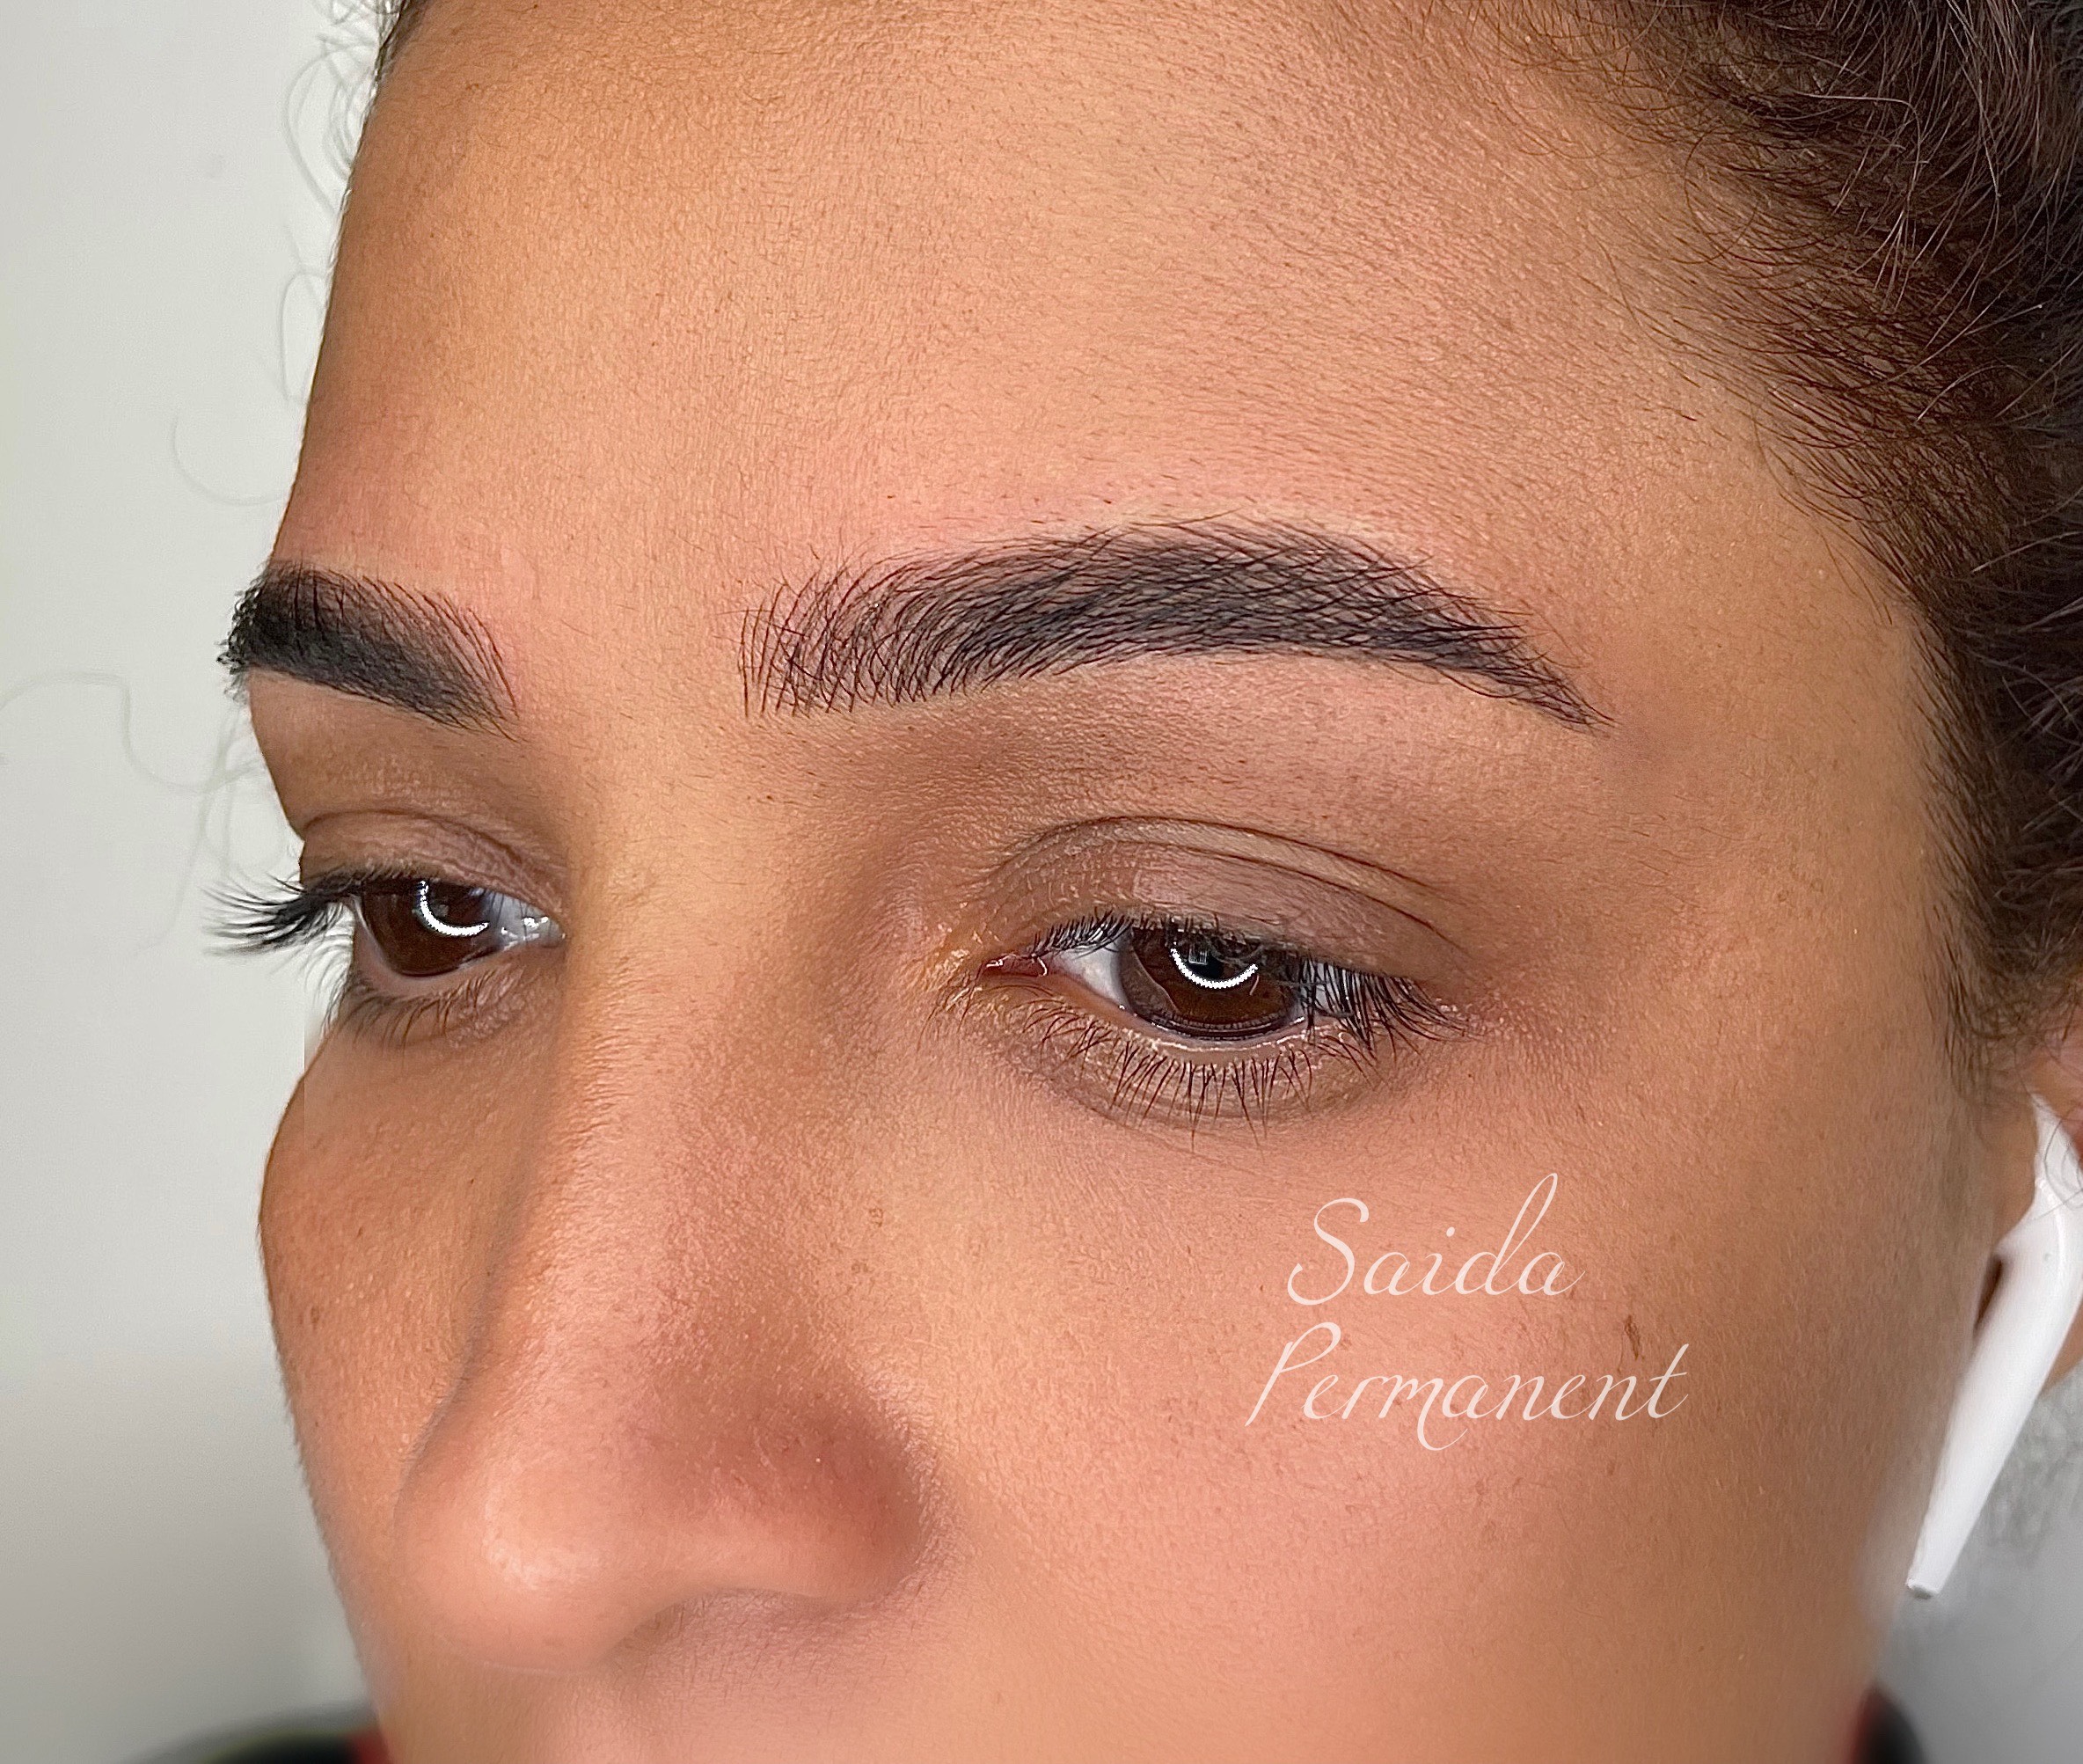
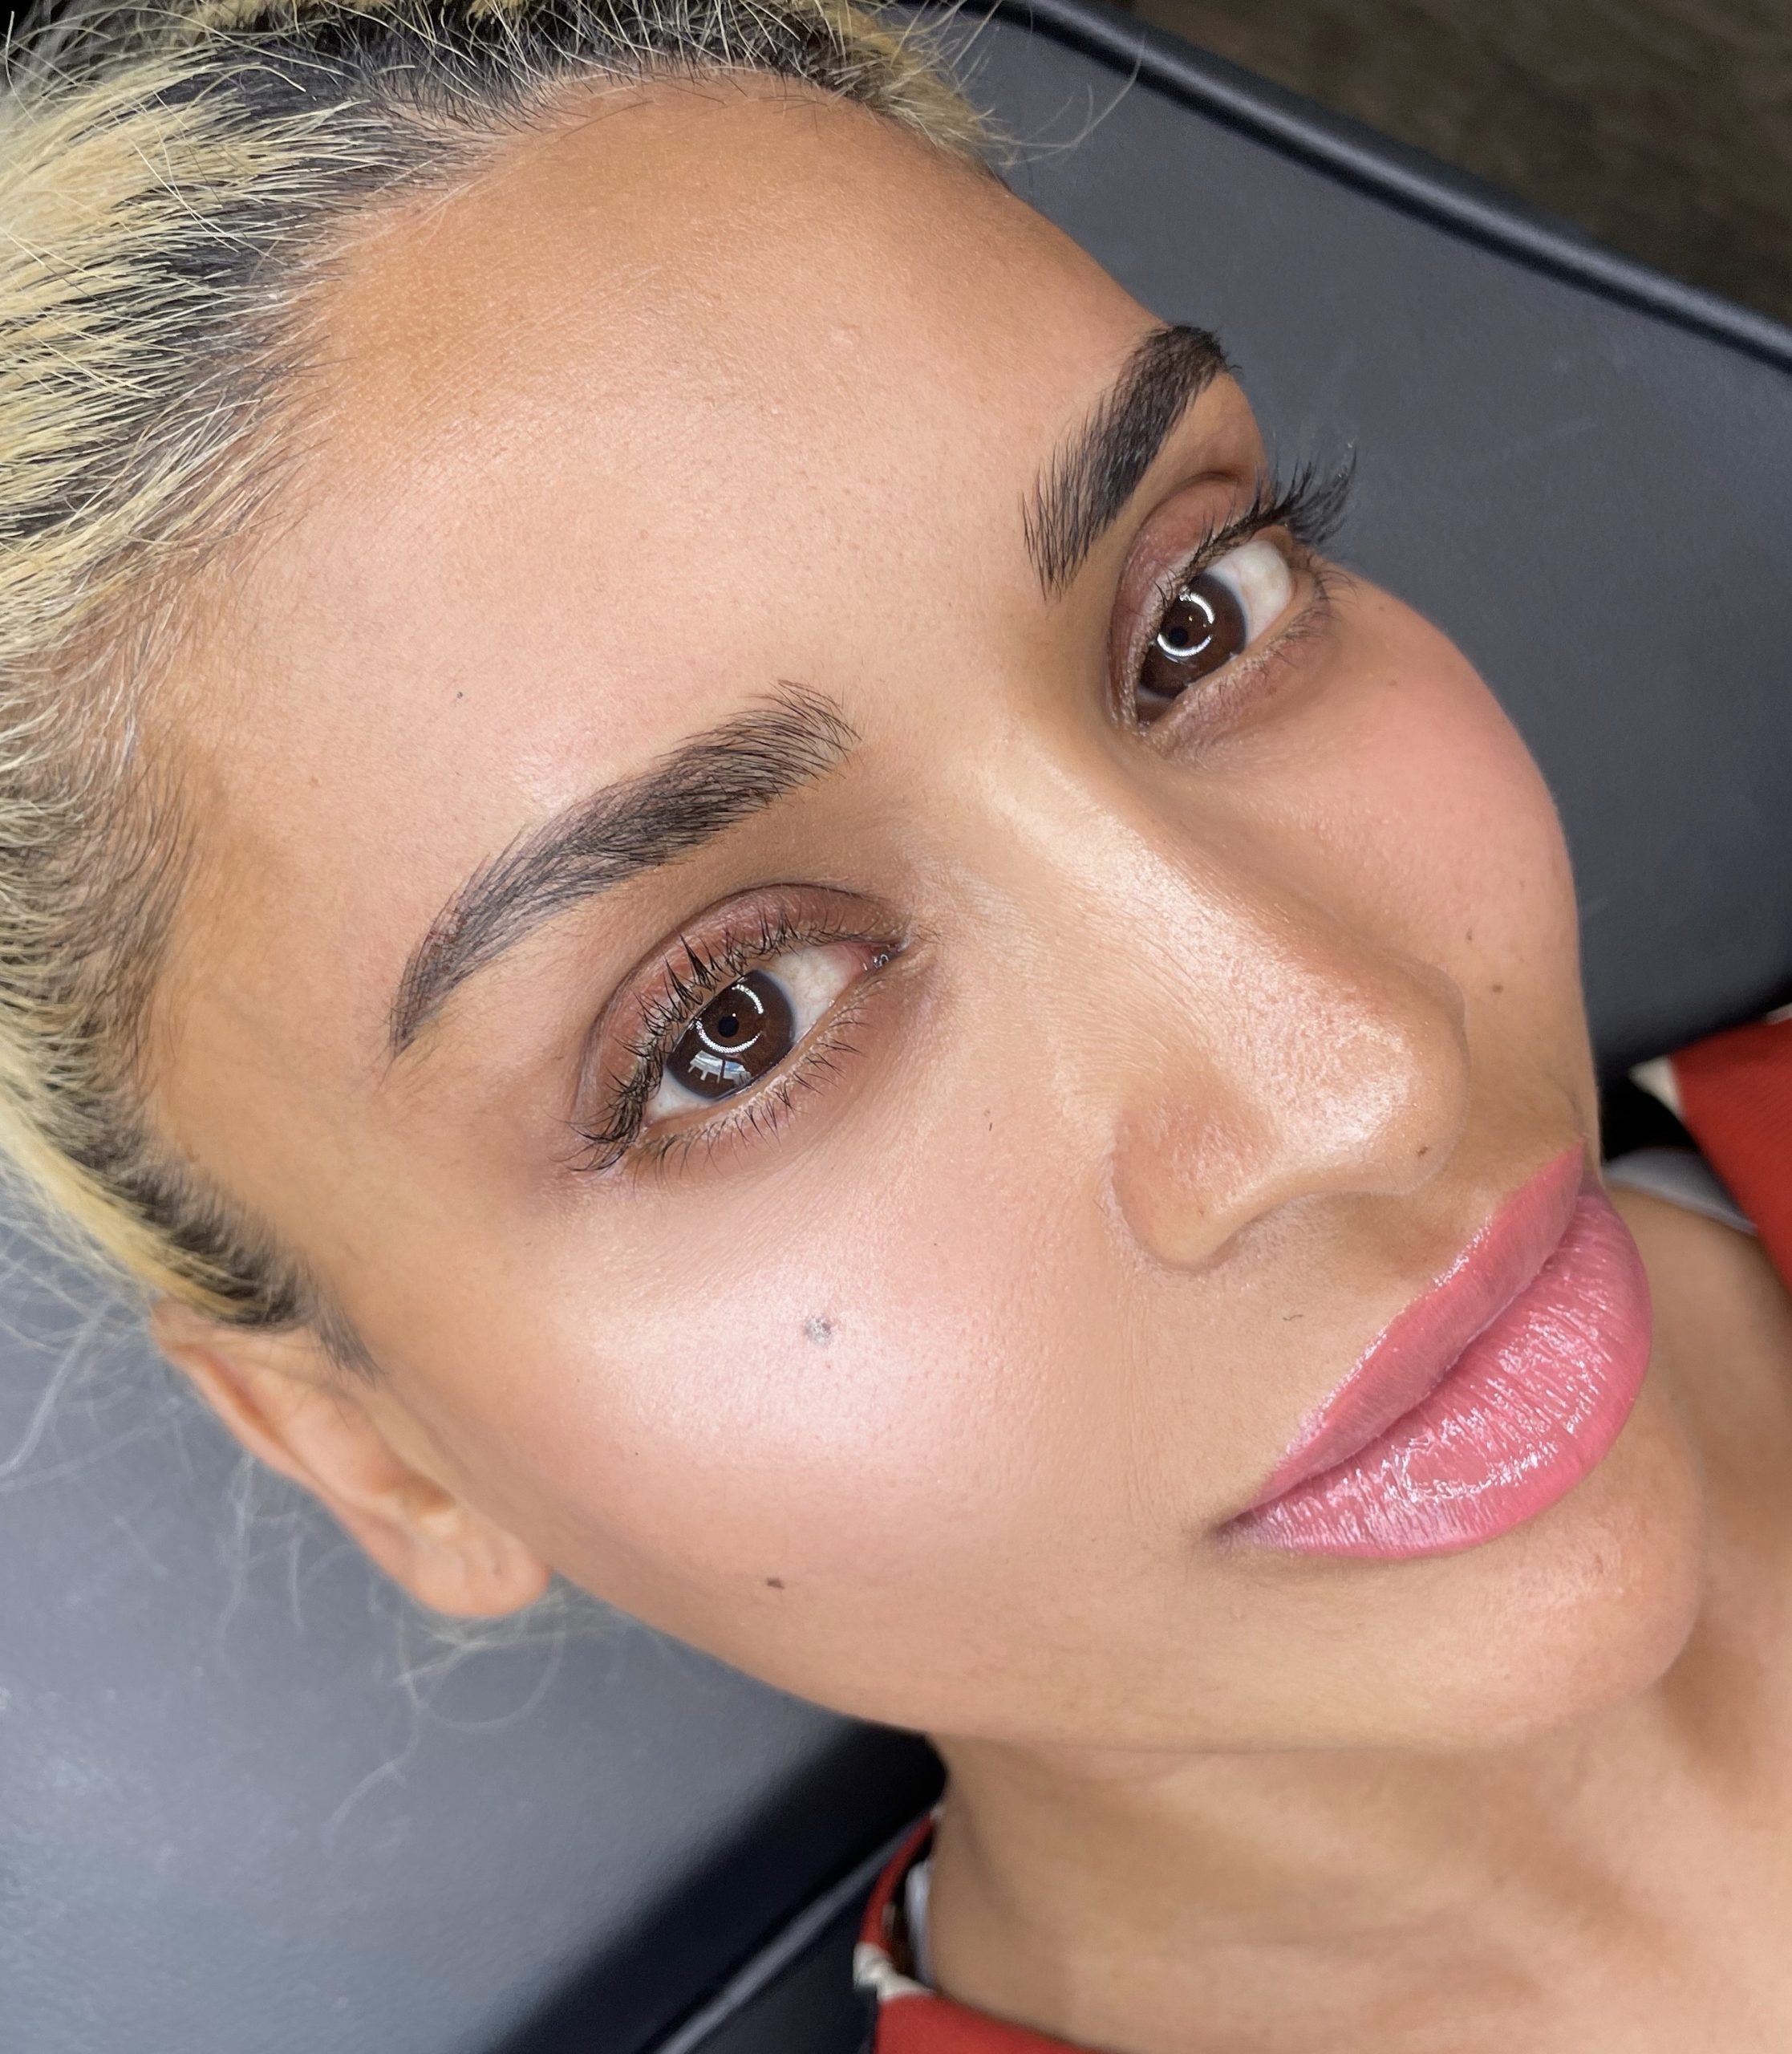
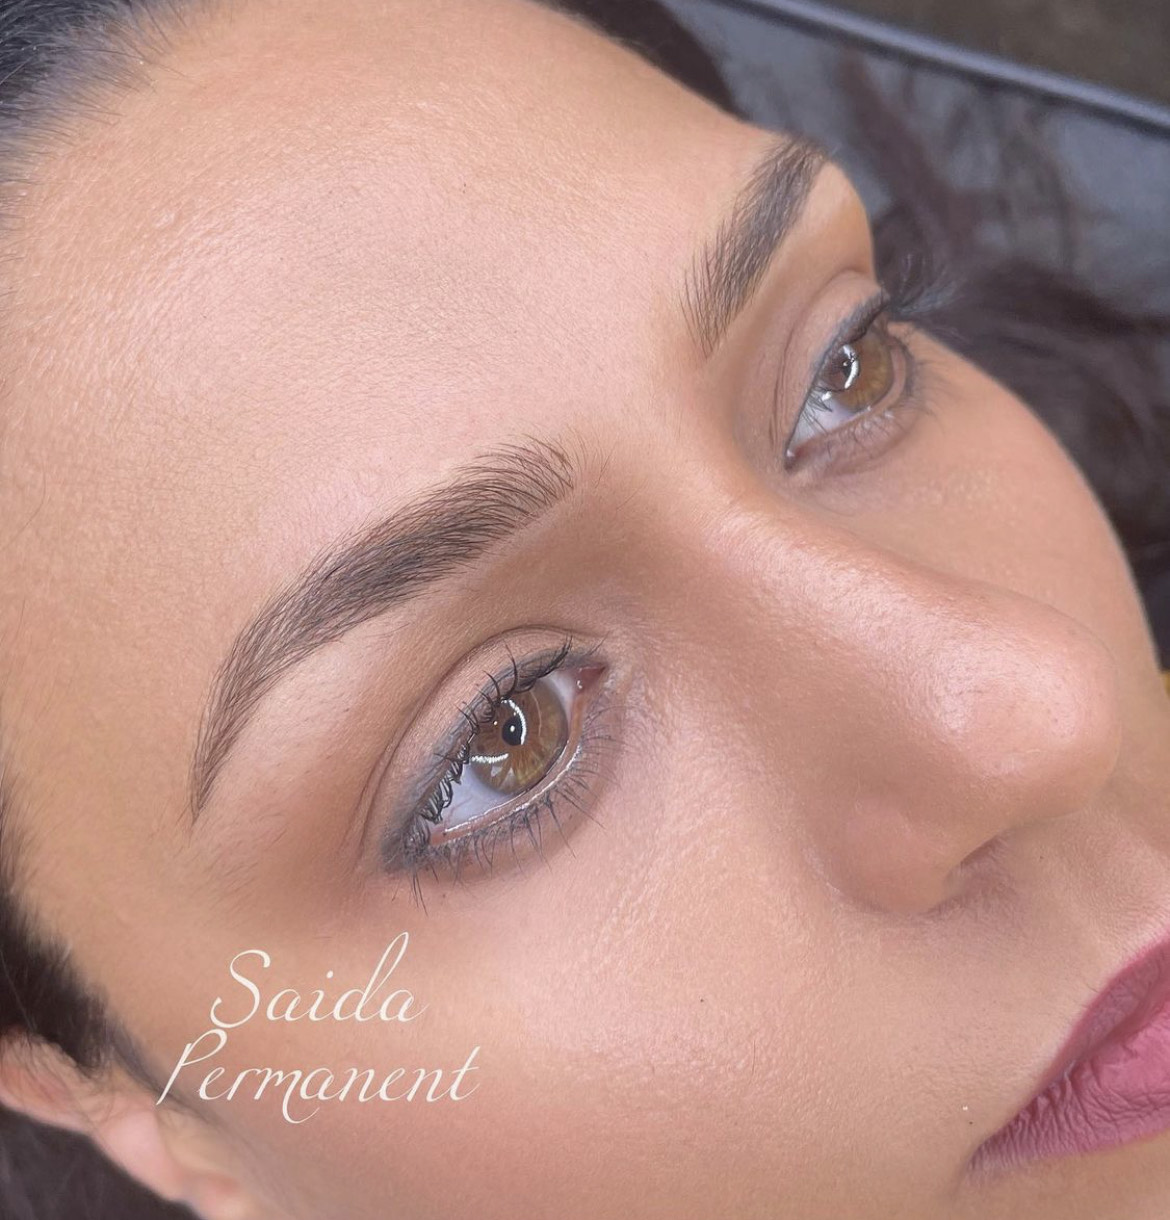
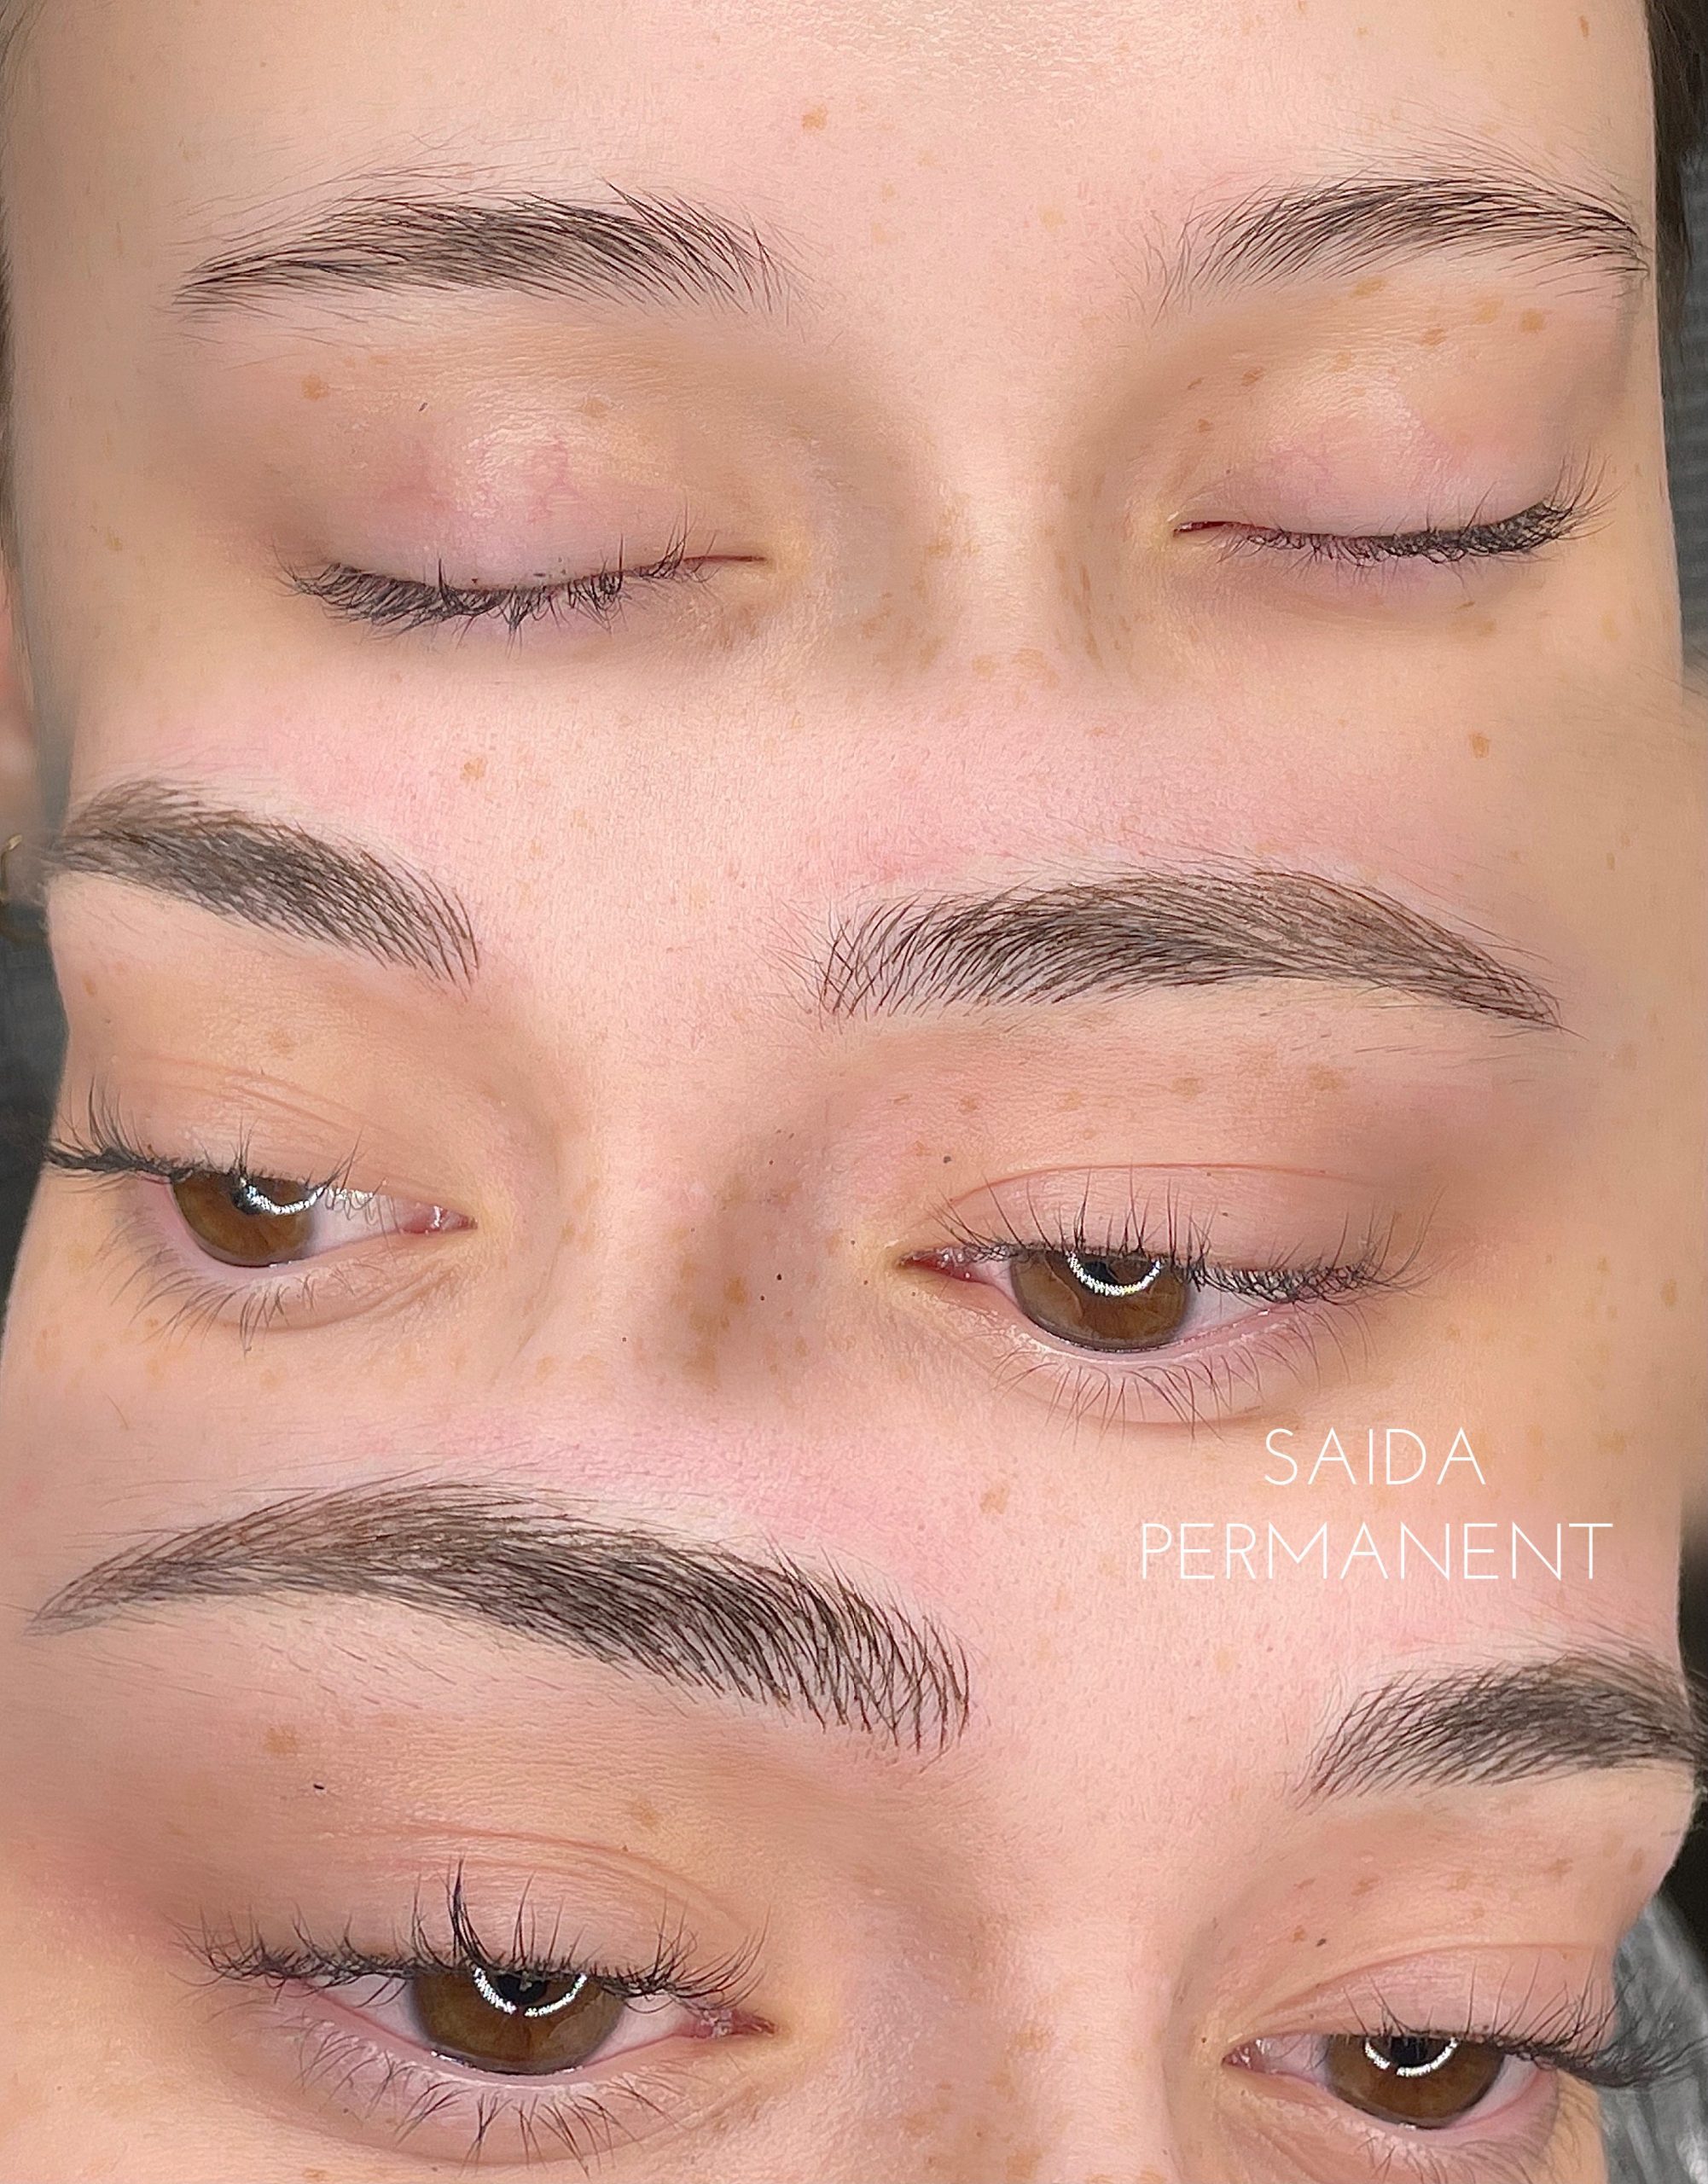
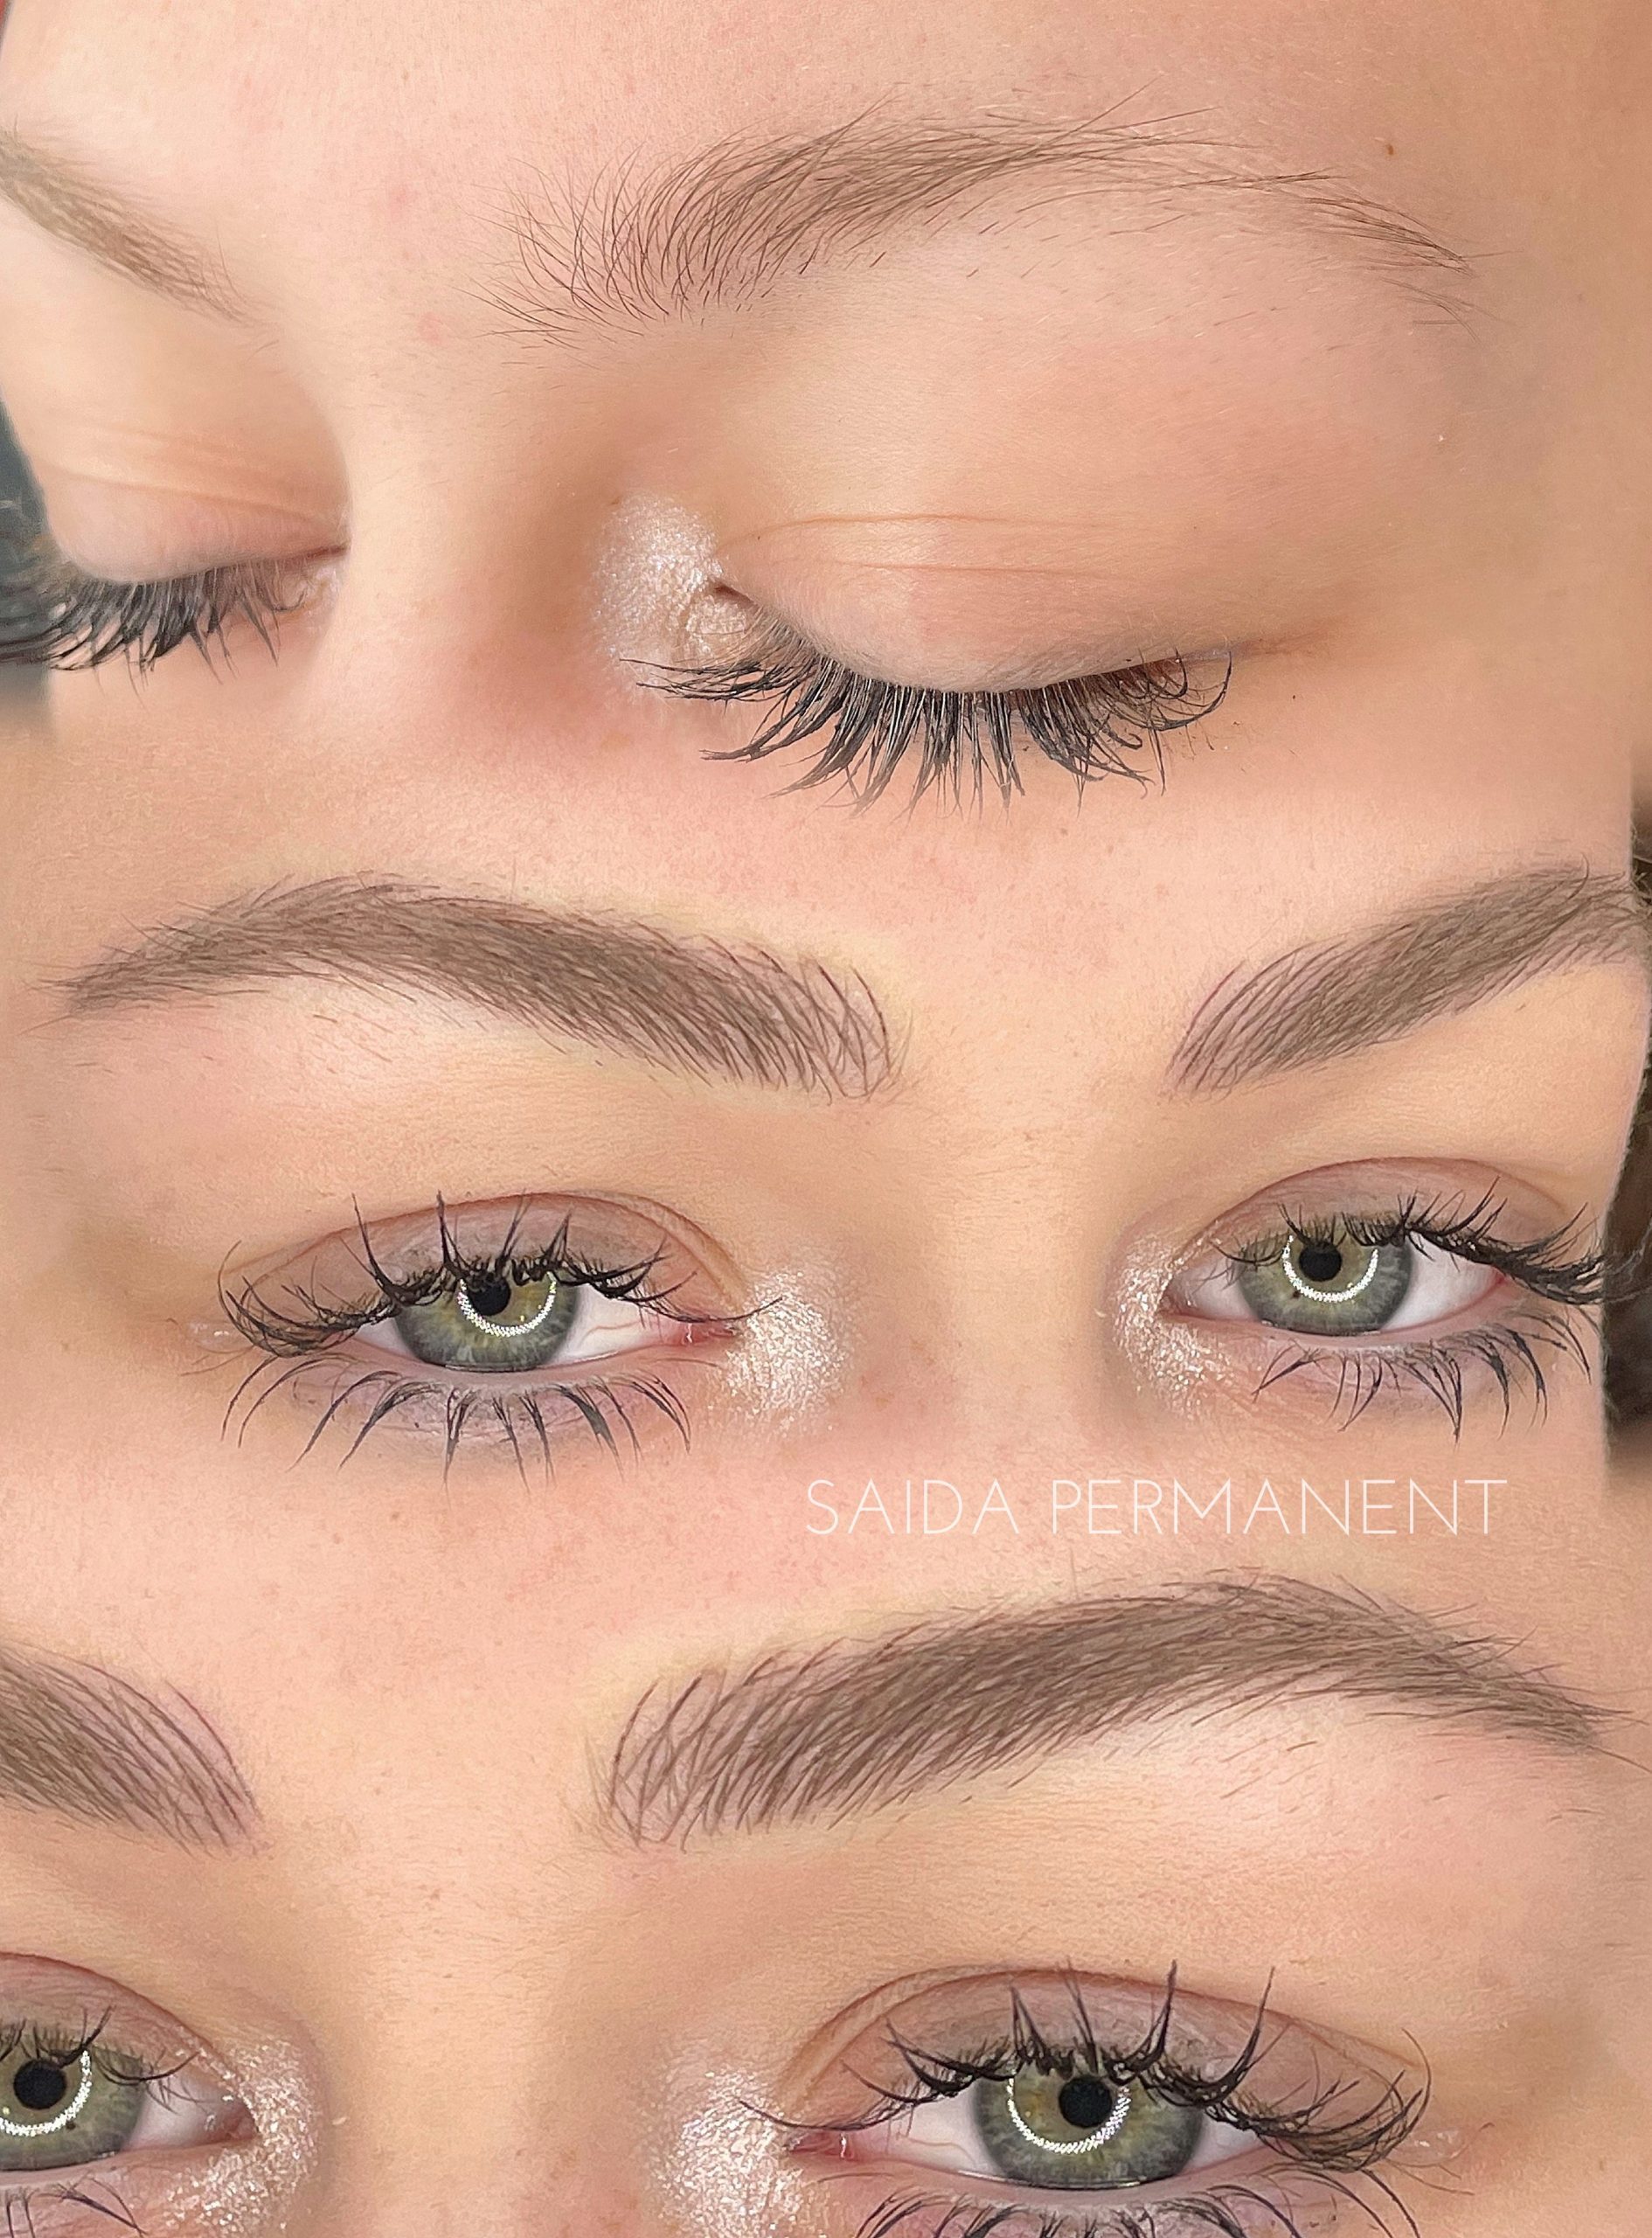
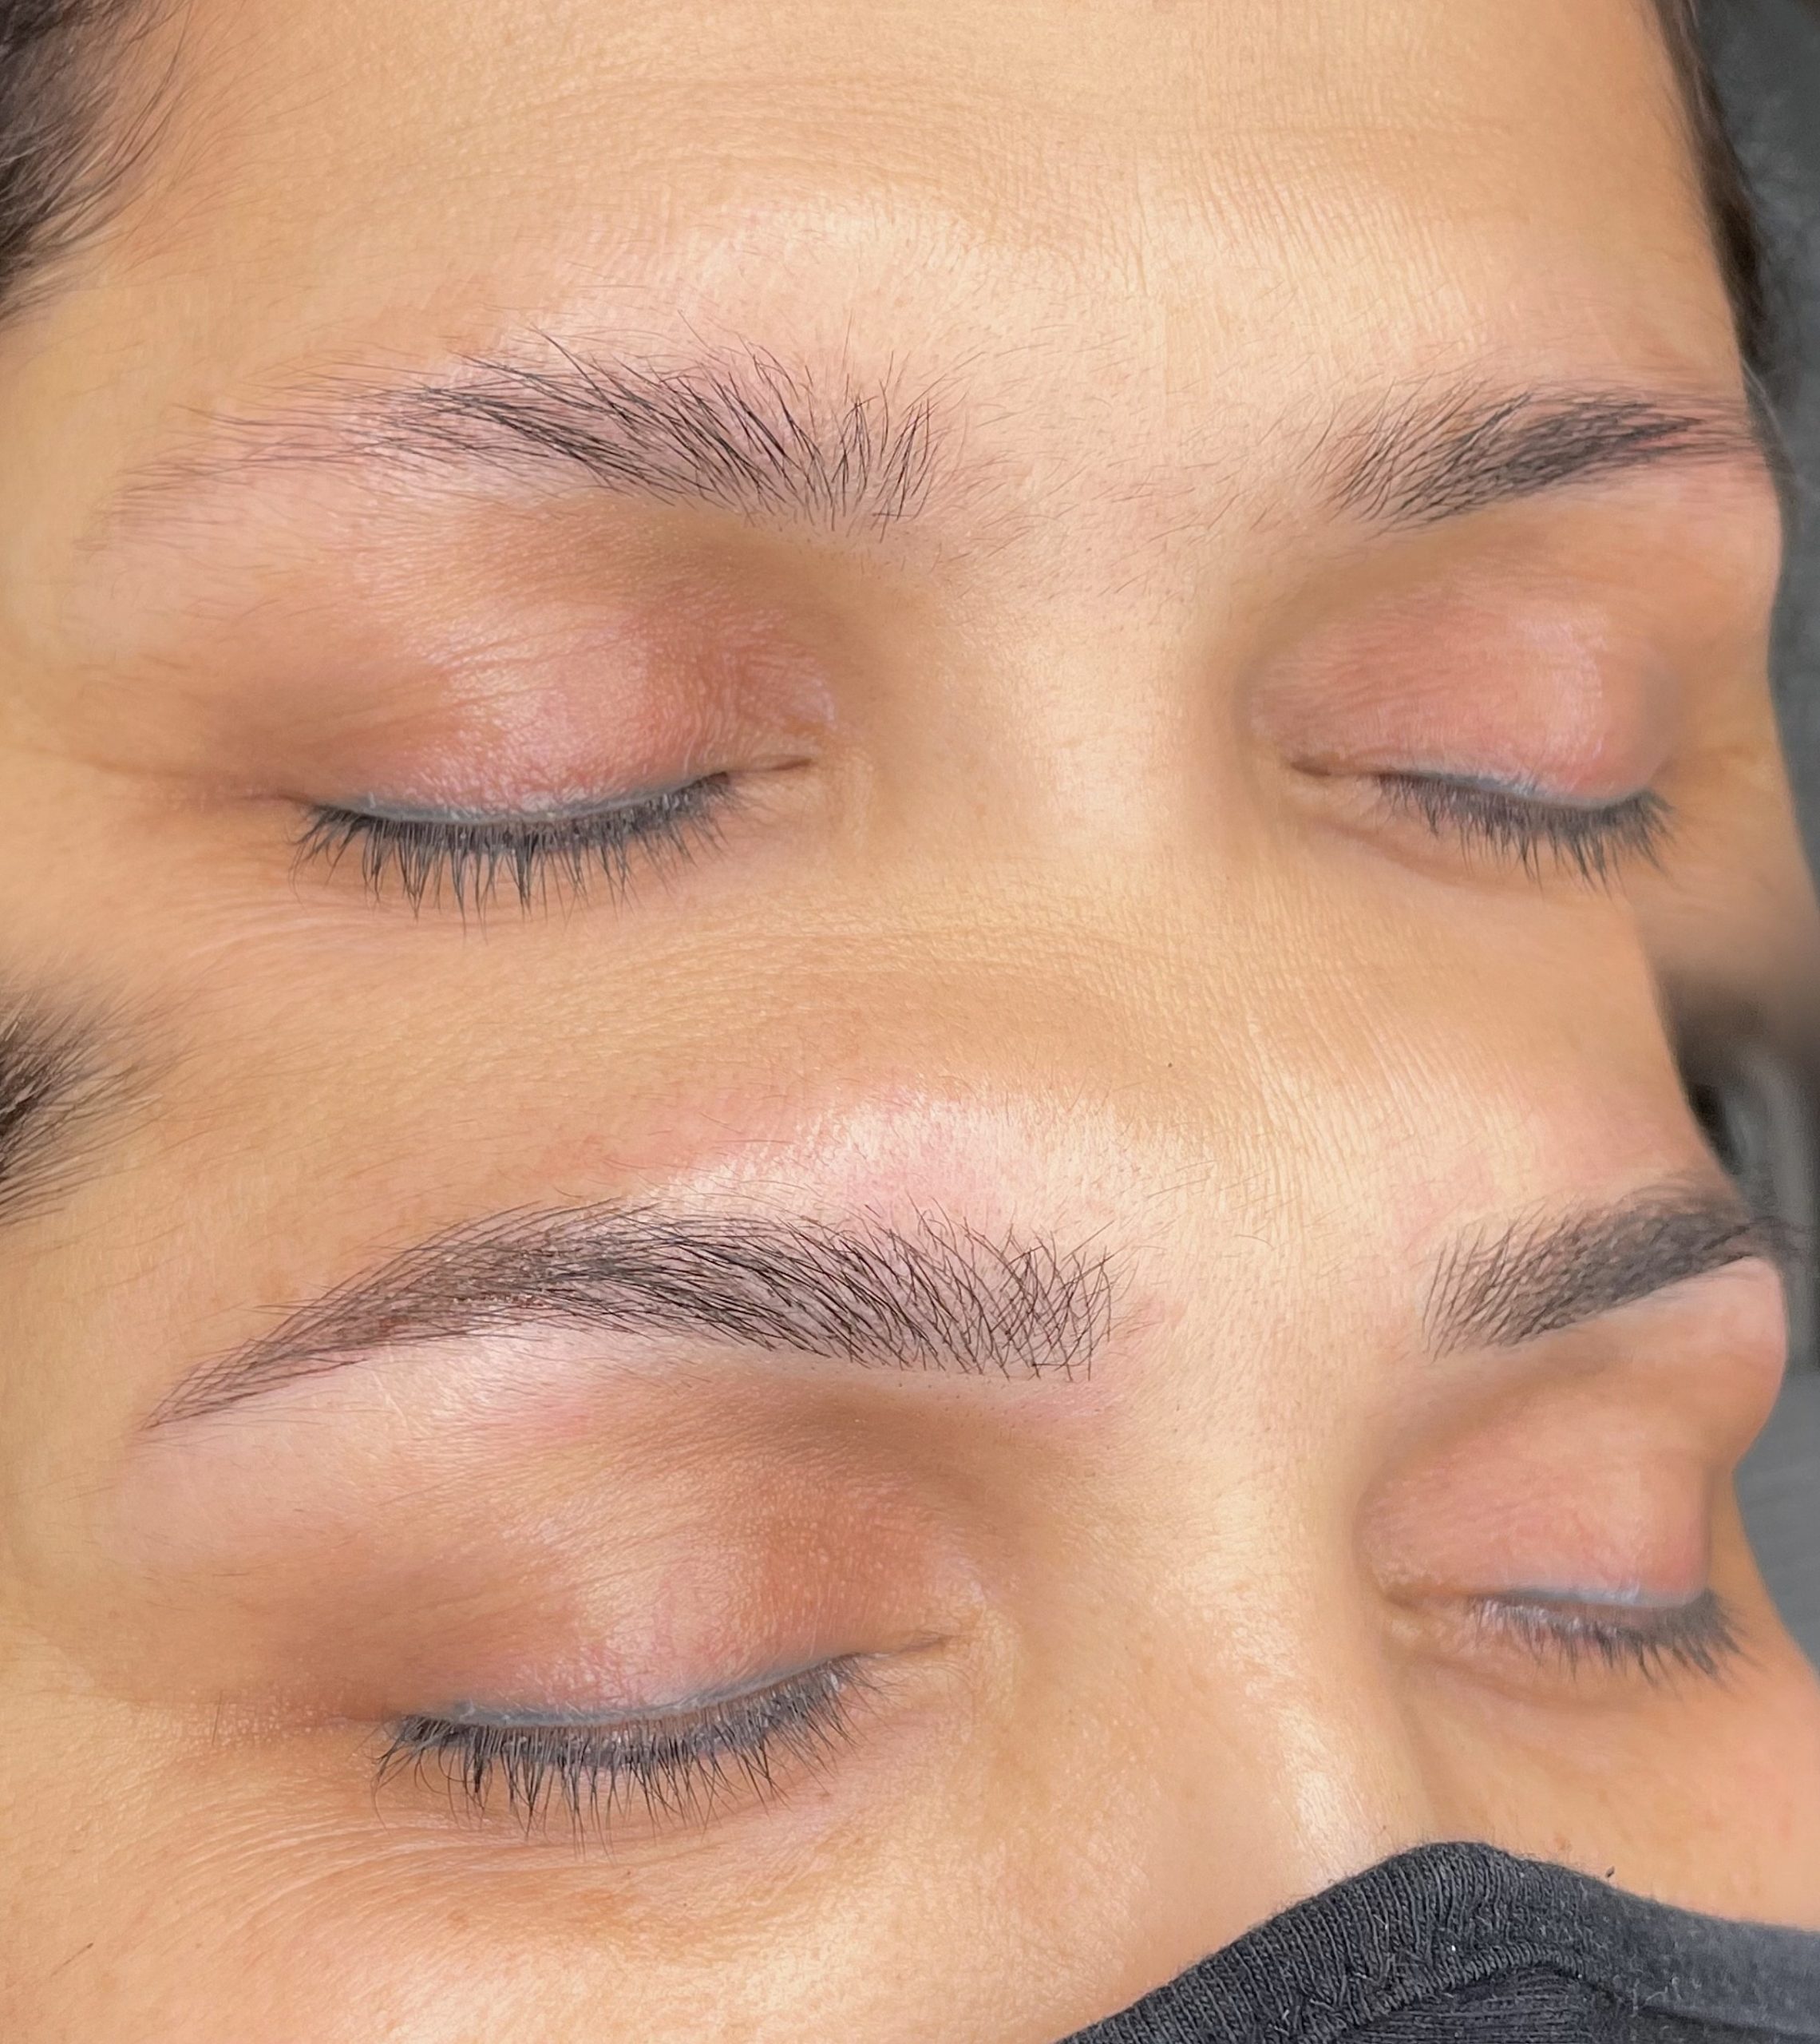
What is microblading? RECOMMENDED FOR DRY SKIN TYPE
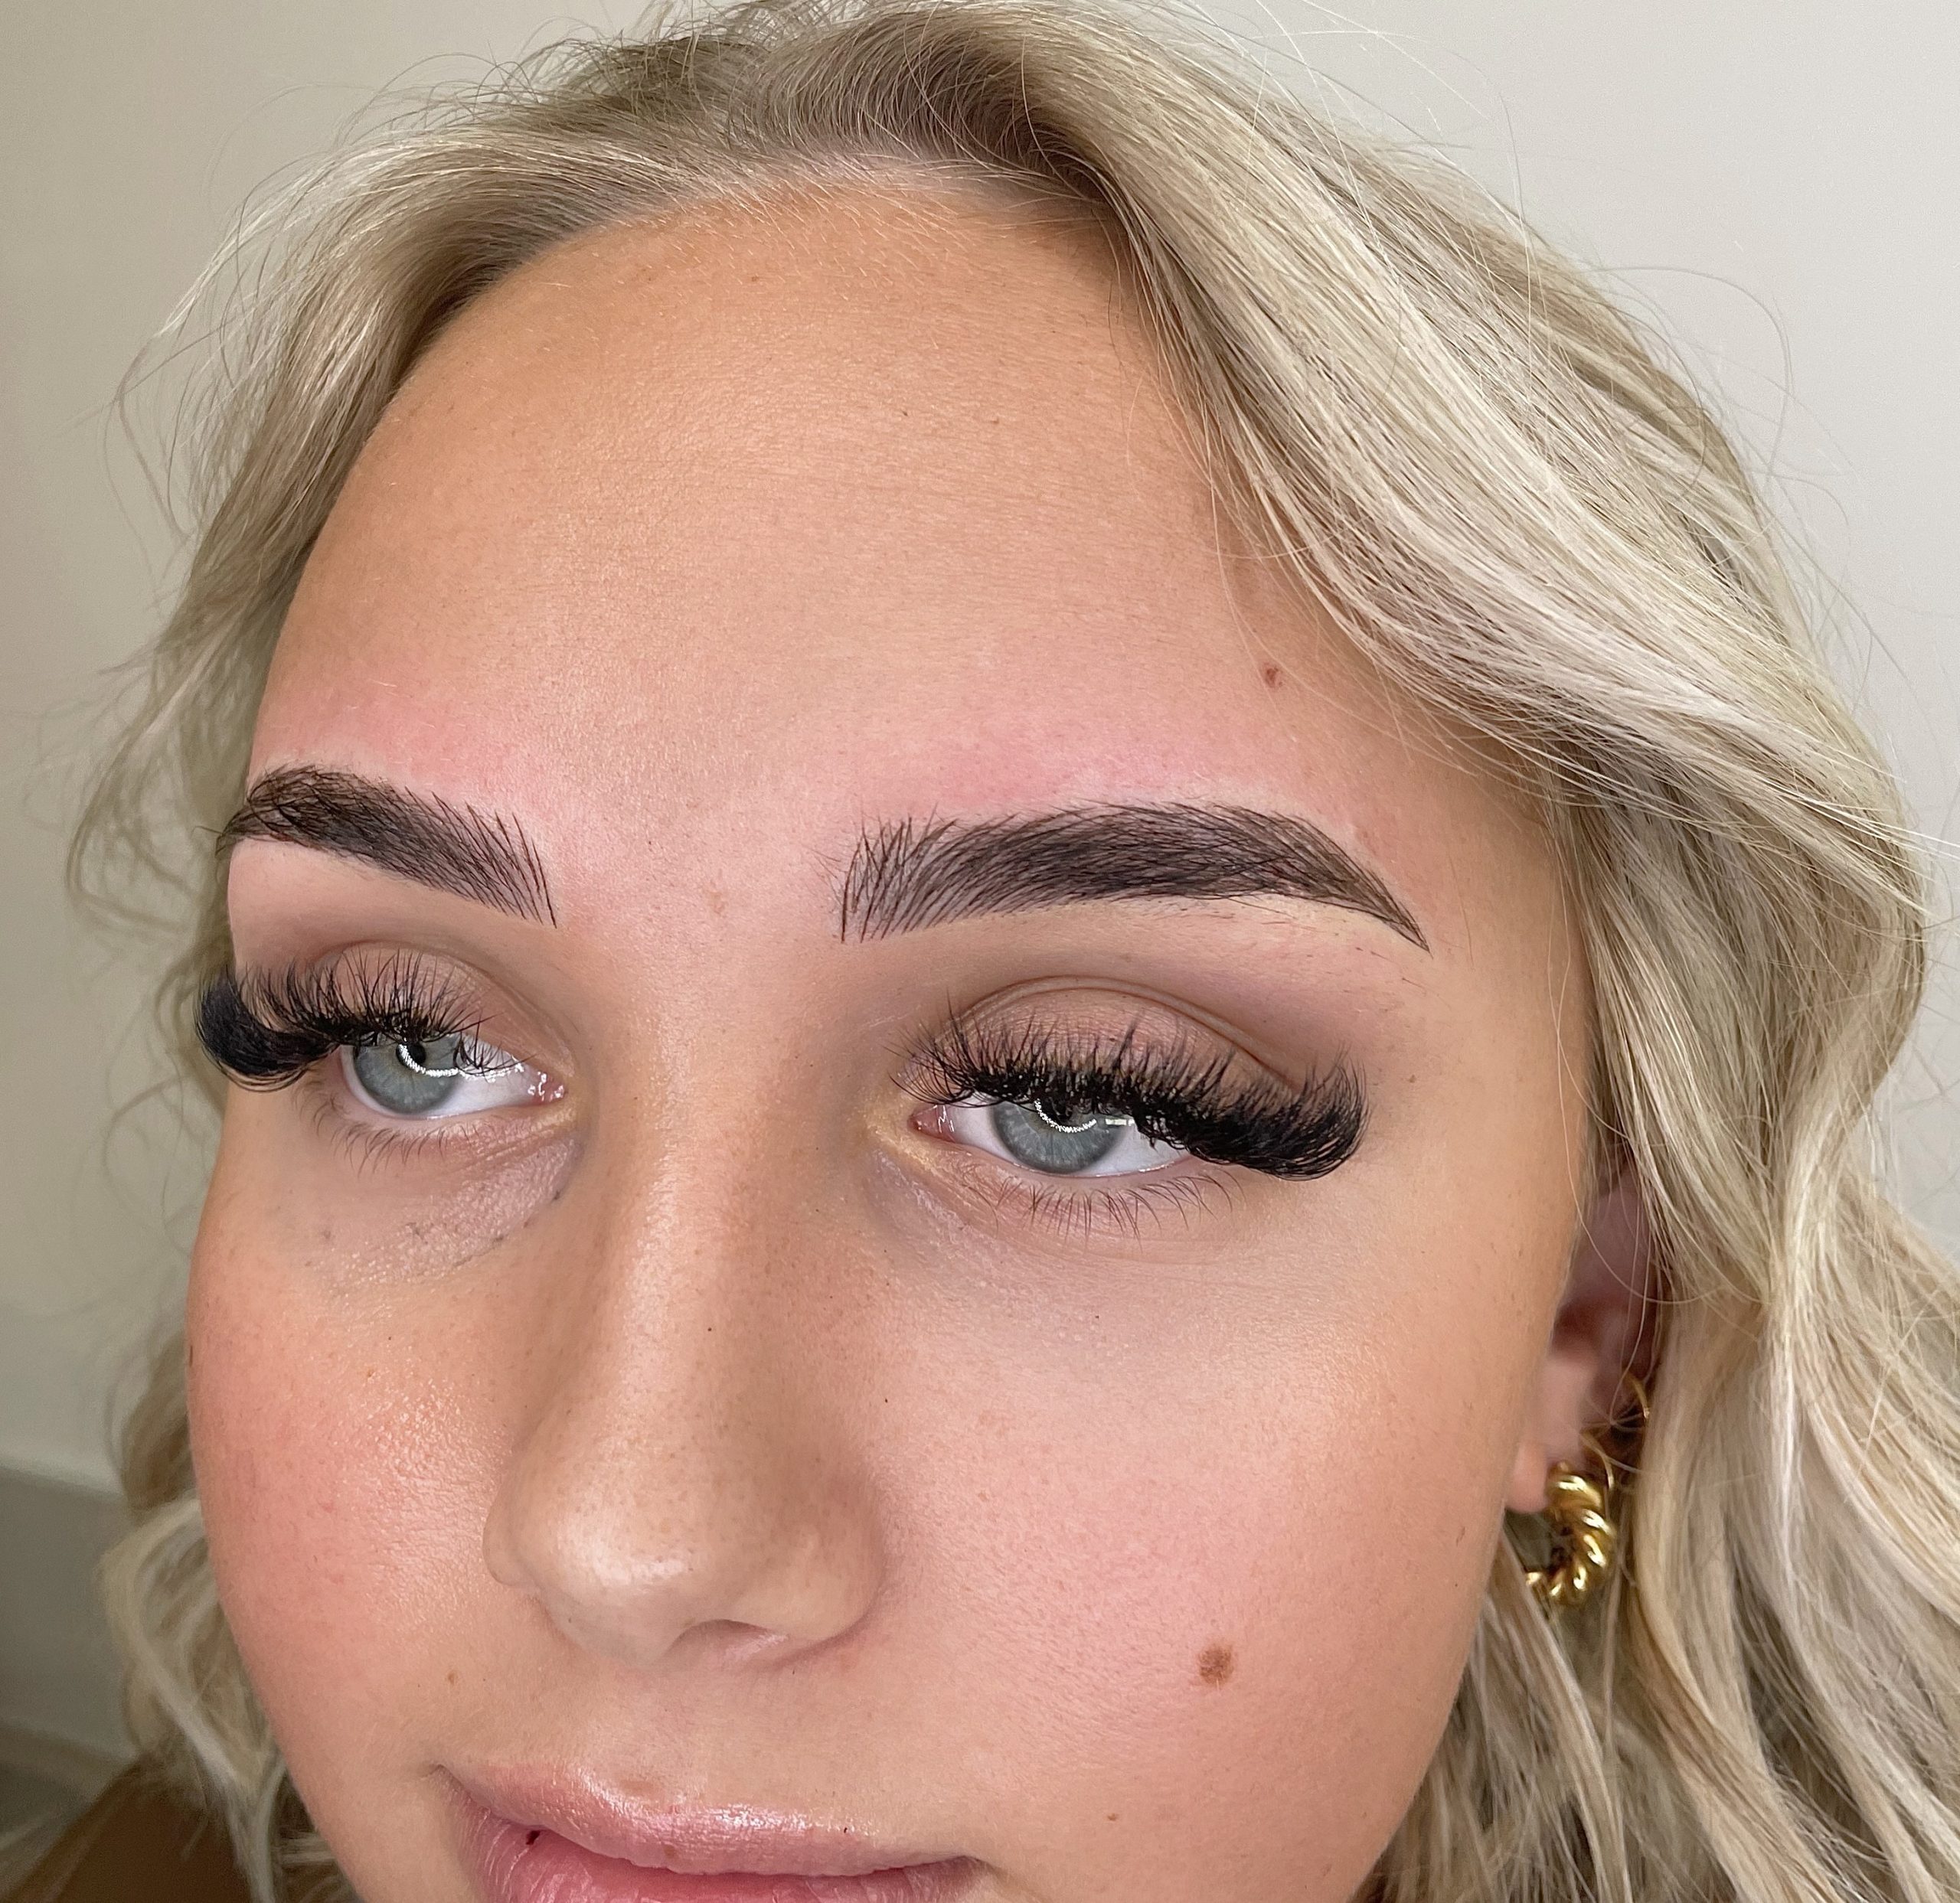
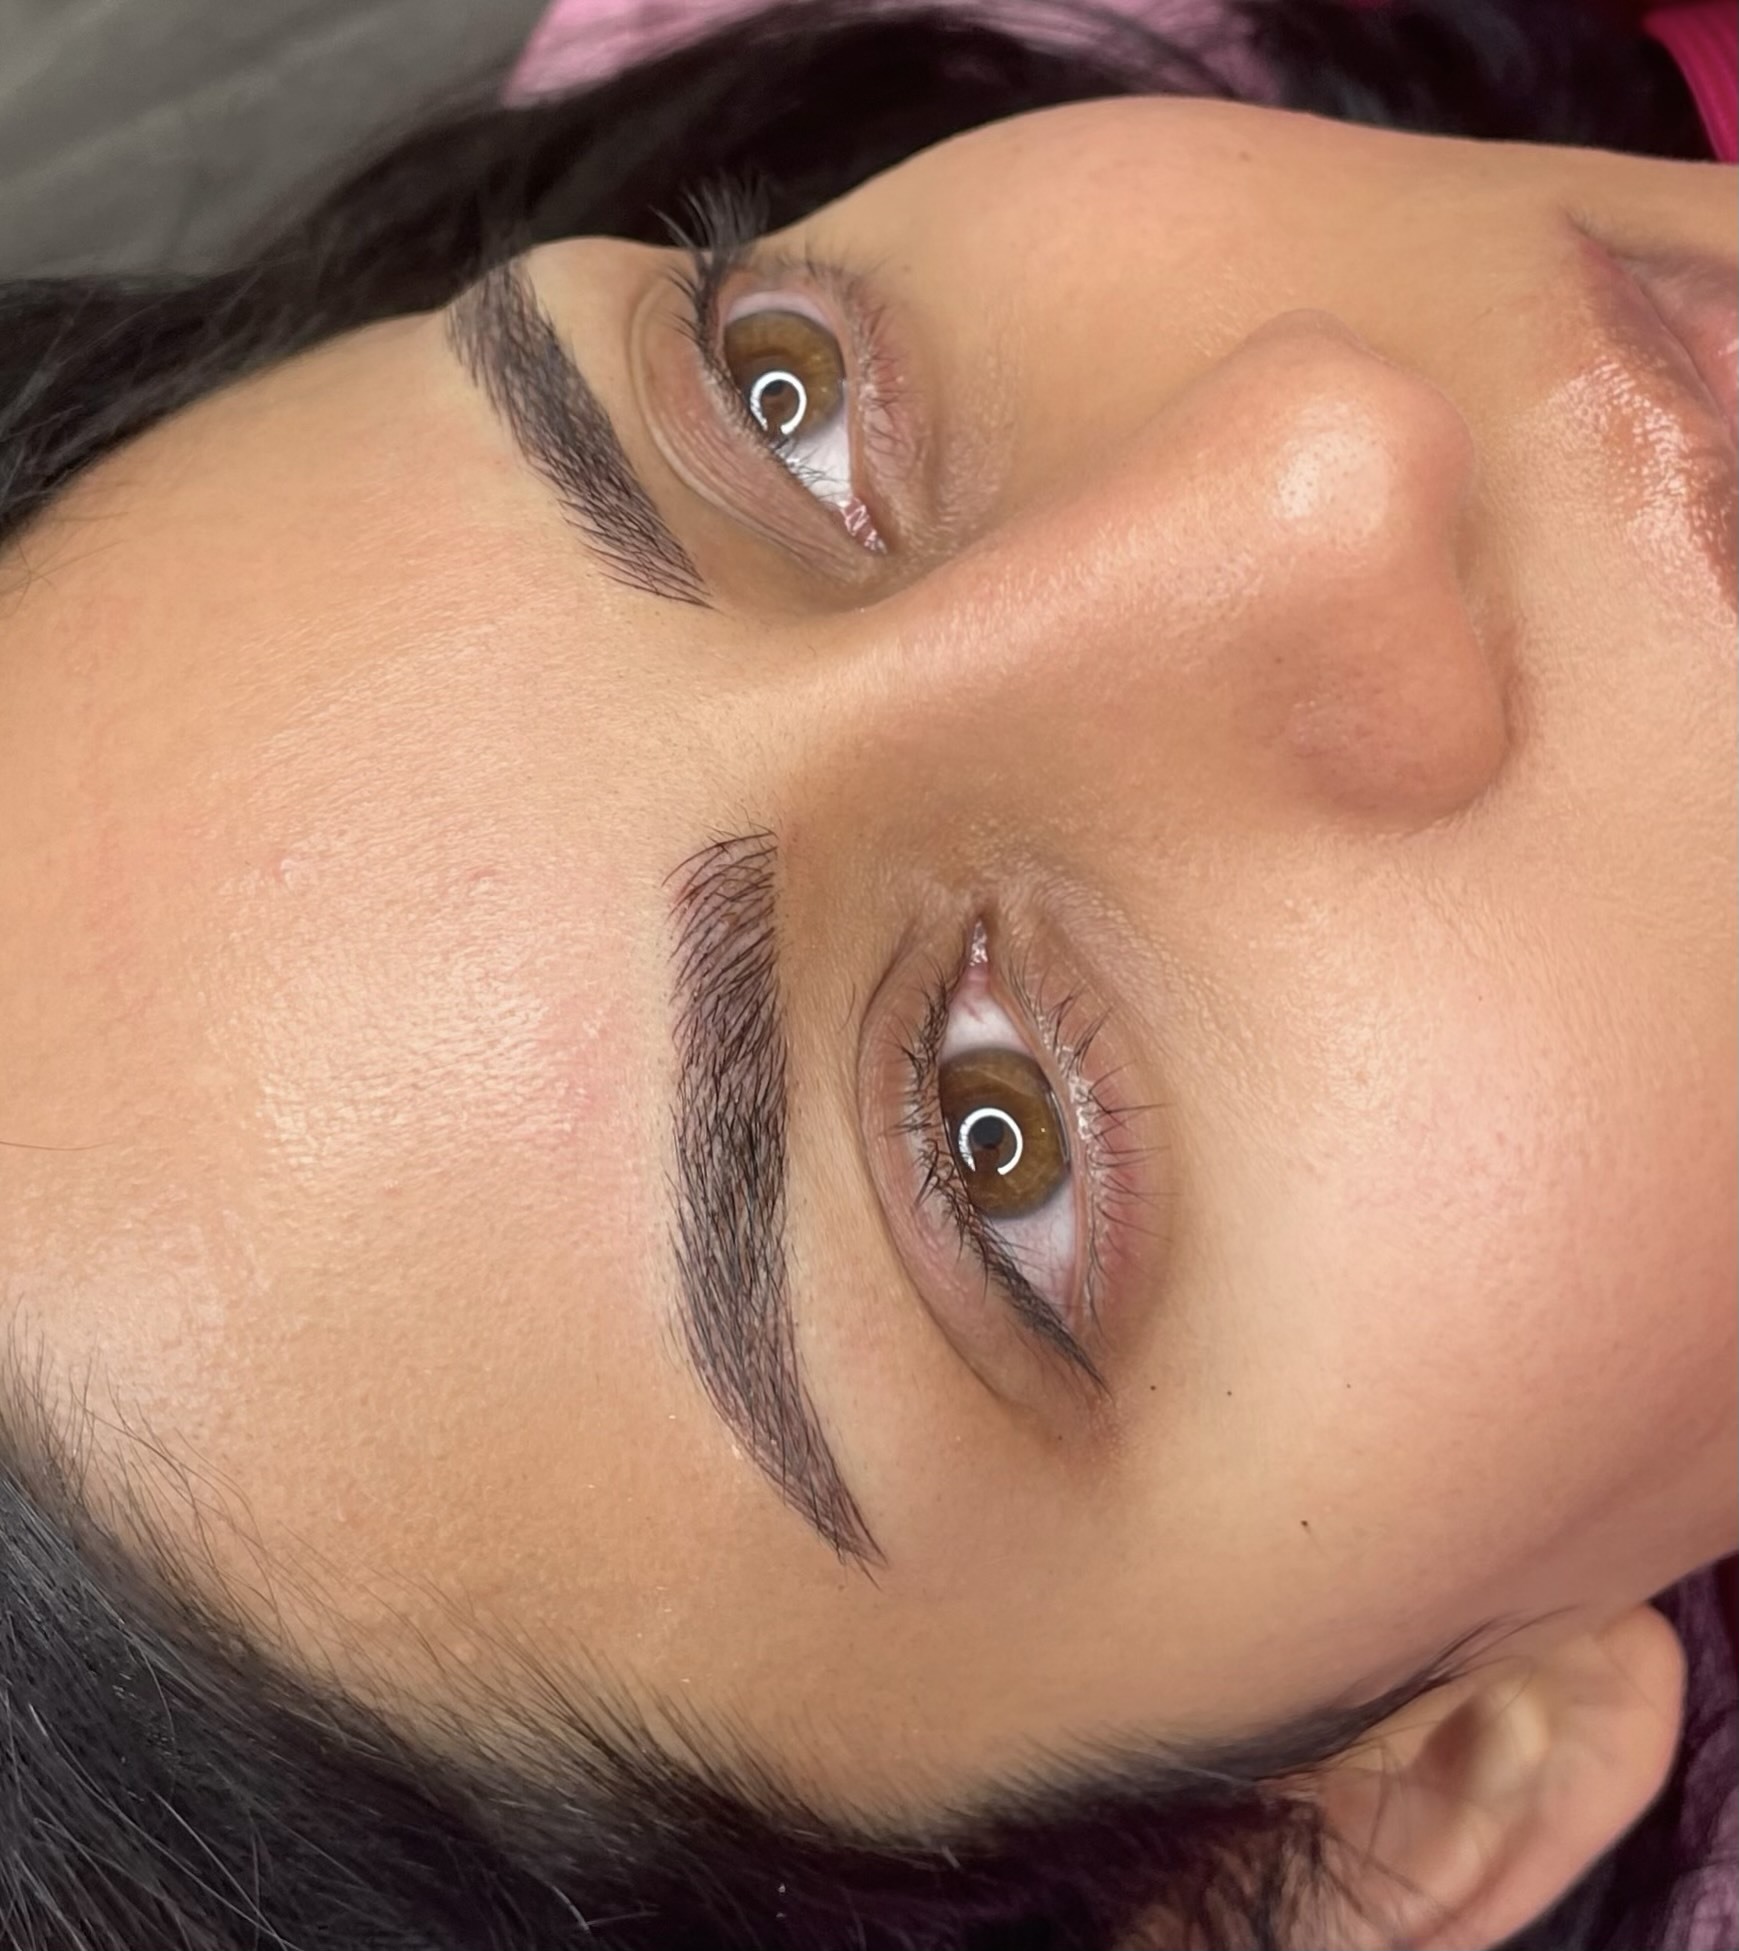
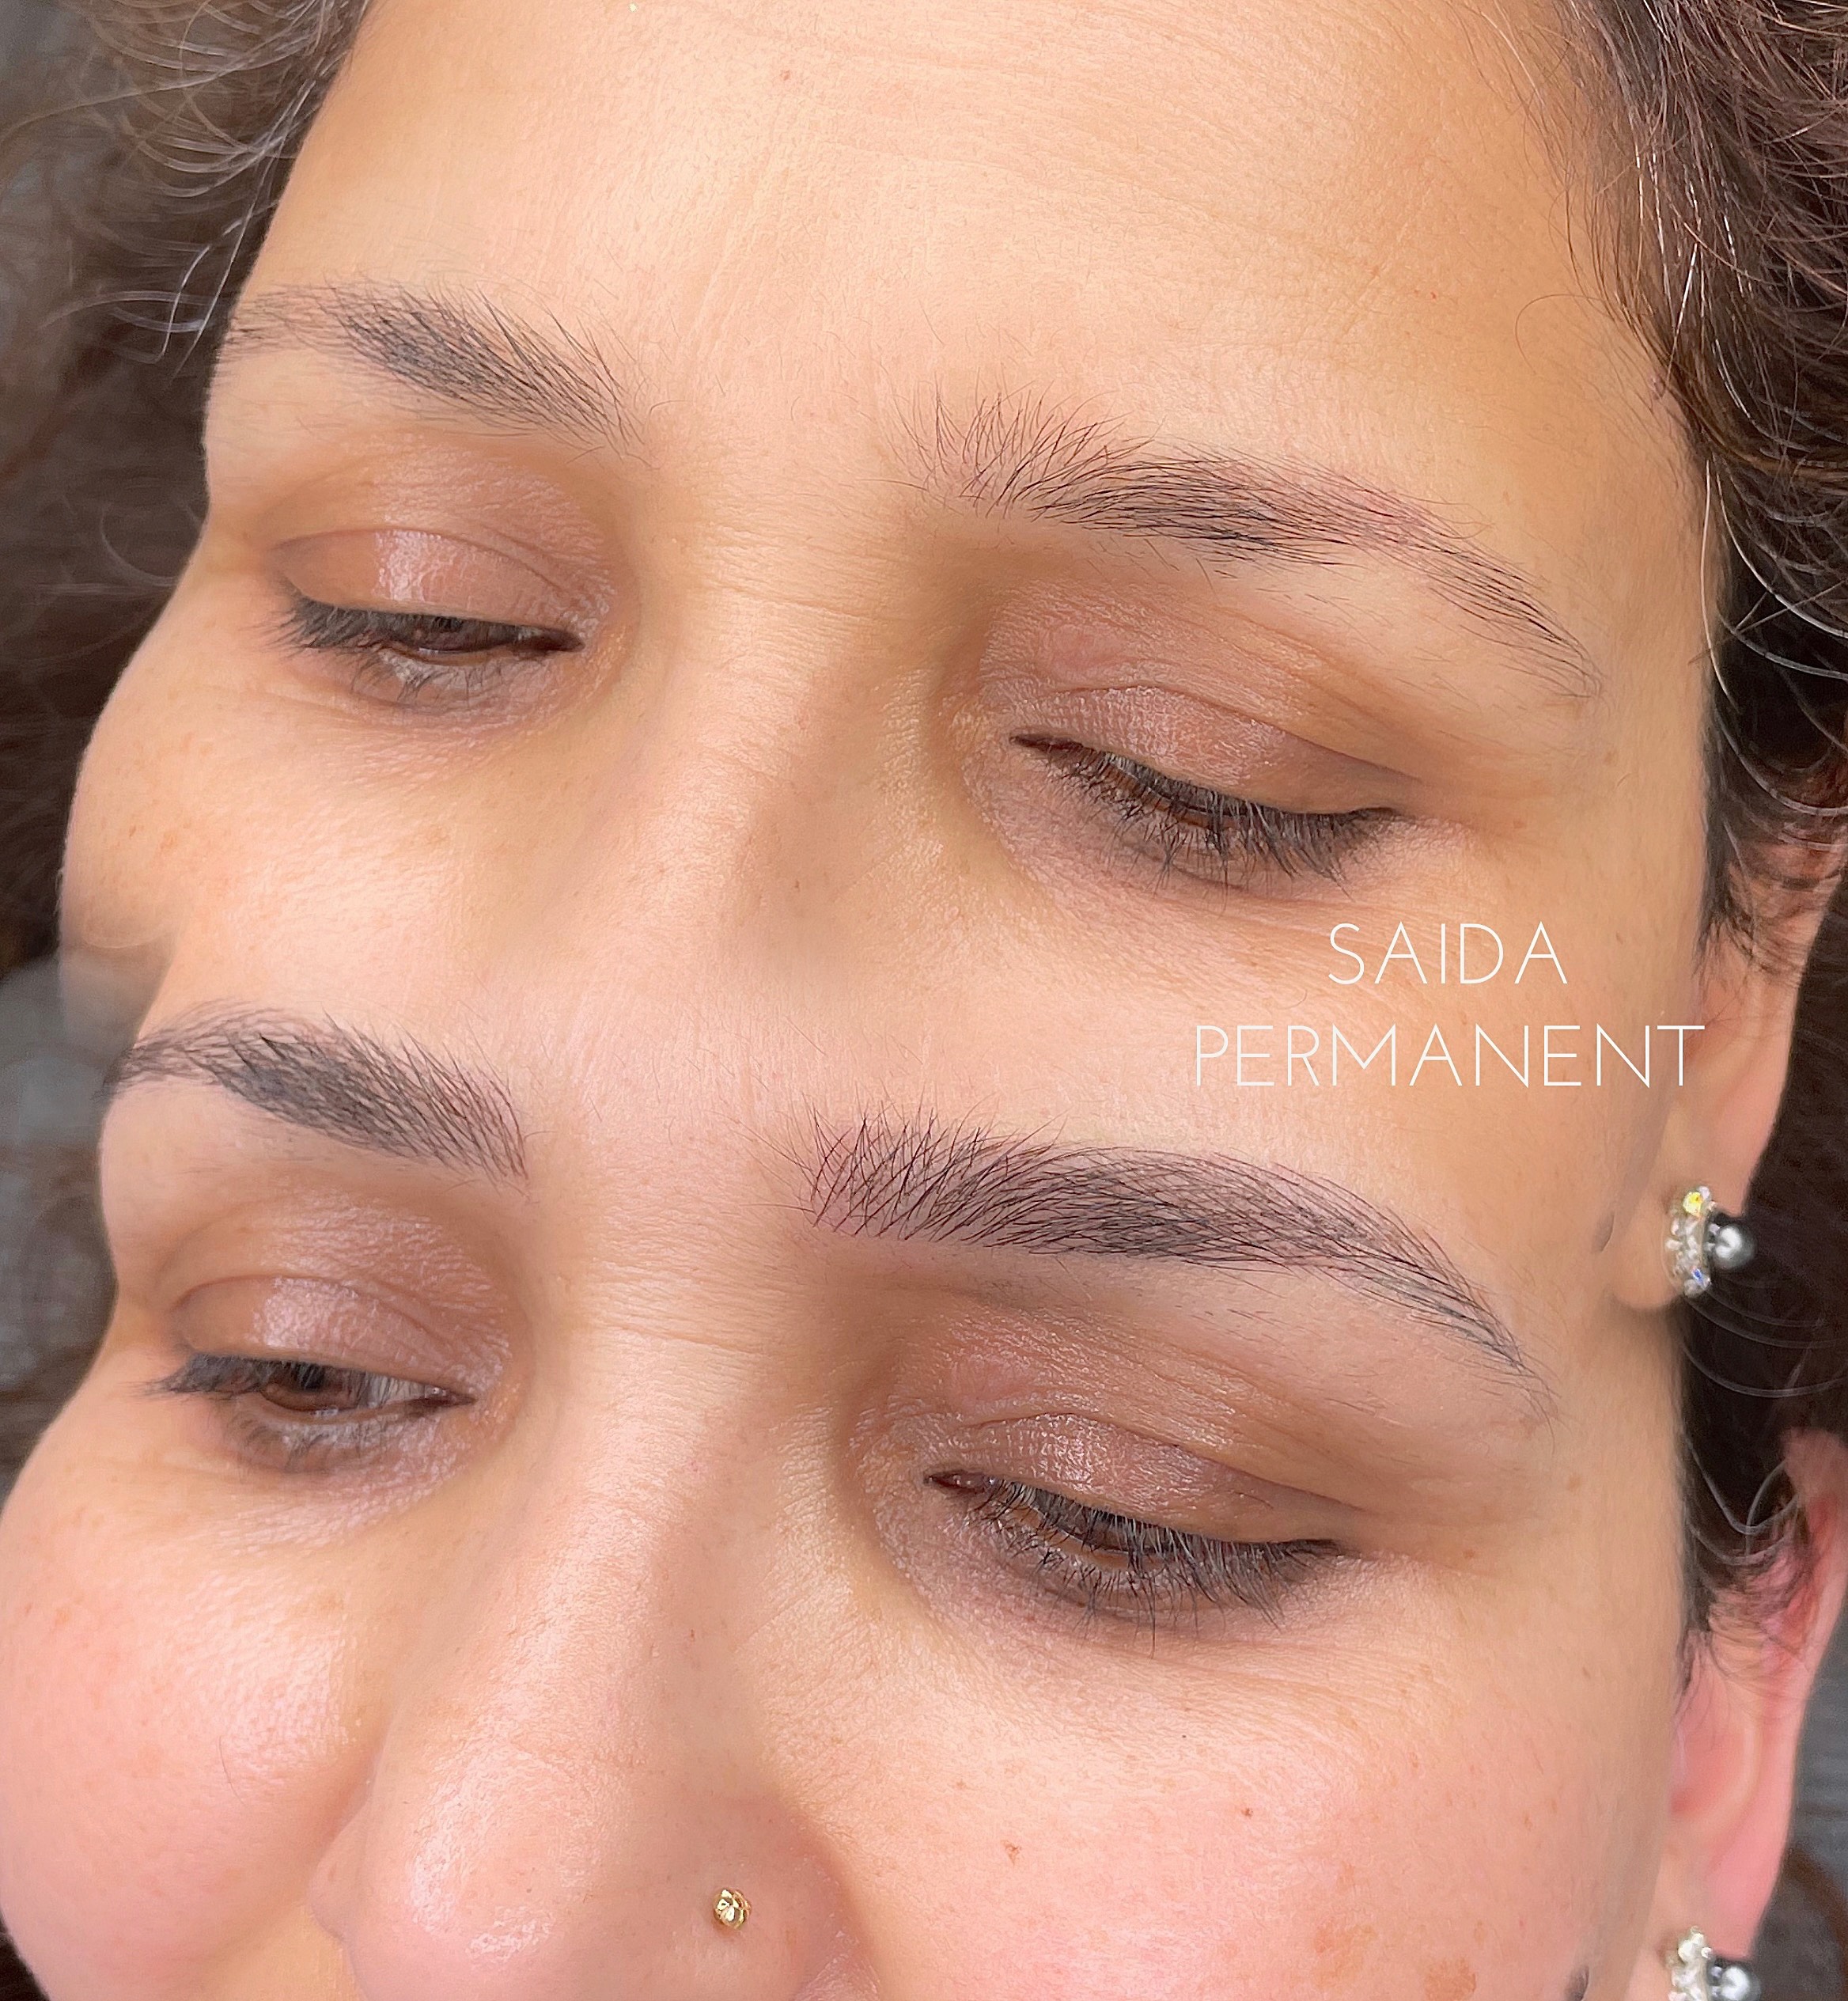
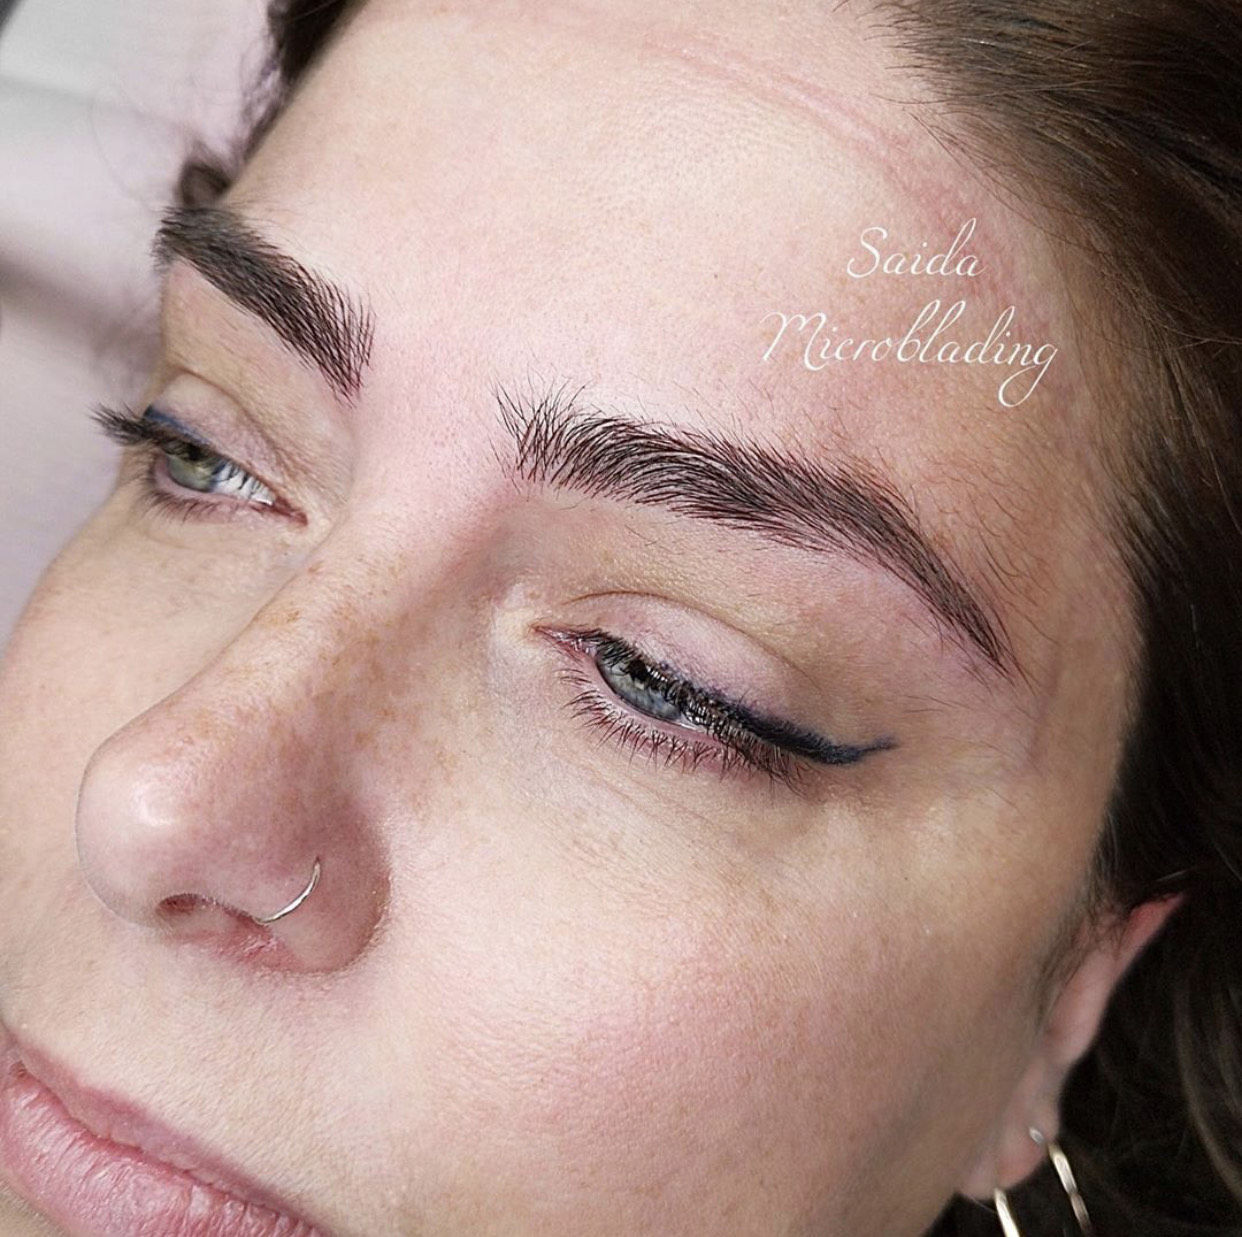
Manual method done by using a special hand instrument with a small row of very fine needles that deposit pigment into the epidermis when slicing beautiful feathering strokes. This creates very crisp, fine hair strokes that do not blur after healing like you would experience with a traditional permanent makeup machine. The results are natural looking, hair-like strokes, regardless of the amount of hair present. People suffering from alopecia or any other condition that causes hair loss benefit perfectly from Microblading, as well as people who simply are not happy with their eyebrows. The results are a natural, flawless, fuller looking brow. Initially, the brows appear darker, but fade significantly over a two-week period.
How many sessions are needed?
It is necessary to go a second time to touch up some small areas as it is very difficult to predict retention on individual skin.
How long do microblading eyebrows last?
It is necessary to go a second time to touch up somThe results can last anywhere from 11 to 18 months, depending on different factors affecting the procedure. However, a touch up once a year is recommended to retain the shape and saturation of pigment. Microblading eyebrows is not recommended for oily skin as hair strokes will heal blur or sometimes disappear, therefore it’s better to choose combination or powder brows instead.
Do microblading eyebrows hurt?
Most of our clients describe the process as non to mild pain or less painful then plucking. Anesthetic cream is used to minimize sensation.
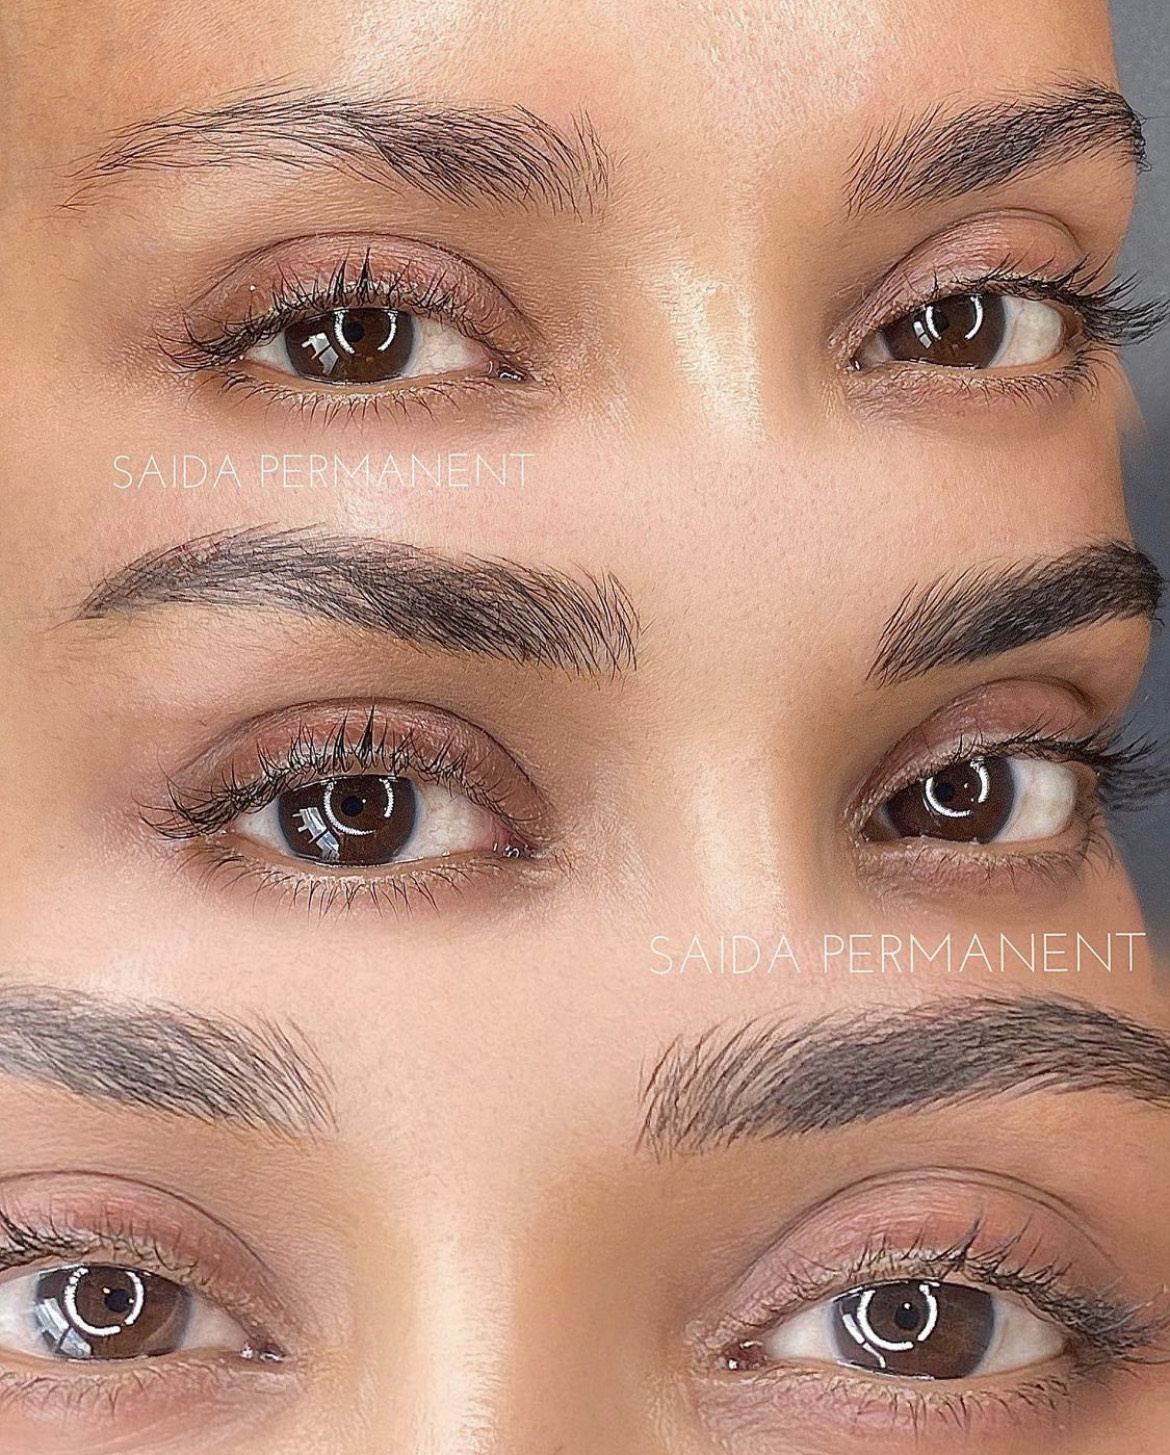
Healing Process
The up’s and down’s of healing process after semi-permanent make up treatment can be a real rollercoaster of emotions but what you need is just a little bit of patience and you’ll be absolutely in love with your eyebrows!
DAY1
Perfect brows. Absolutely in love!
DAY 2-DAY 5
They are dark and so wide! Don’t worry, the colour will change into lighter once they are fully healed. Take care of your eyebrows as explained in aftercare provided by a master.
DAY 5-DAY 10
During this time the intense healing time is almost completed. Treated area becomes itchy and scabby. Don’t stress! That’s absolutely normal and almost everyone has to deal with this part of healing process. For some people might have more scabbing and others can barely have some.
DAY 10-DAY 15
Scabs are coming off and your brows should look lighter. It might look that skin didn’t take very well the pigment but the healing is not finished! They might look very light and even patchy. It will go away in a few days and colour will be visible again.
DAY 15-DAY 30
Your eyebrow healing process is almost done! Brows are about to take the final shape and colour. They still might look patchy but don’t worry it’s still not the end. At the end of the fourth week after the treatment you will see the real result of how your brows will look.
TOUCH UP DAY
The healing is finished! Depending on how well your skin took the pigment as brows might look light or patchy in a touch up appointment all imperfections can be fixed for the most perfect look! After the touch up your eyebrows will get their final shape and colour.
Touch up is done after 6-8 weeks of having new session of semi-permanent make up.
The up’s and down’s of healing process after semi-permanent make up treatment can be a real rollercoaster of emotions but what you need is just a little bit of patience and you’ll be absolutely in love with your eyebrows!
DAY1
10.00 – 12.30 Theory
12.30 – 13.00 Short break
13.00 – 15.00 Drawing practice on latex (fake skin)
15.00 – 16.30 Demonstration done by teacher (Teacher will show brow technique on live model)
16.30 – 17.00 Homework, Questions, answers and end of day 1.
DAY 2
10.00 – 11.00 Homework overview, questions, practice on latex (fake skin)
11.00 – 13.00 Practise brows on live model full support from teacher)
13.00 – 14.00 Short break
14.00 – 16.00 Practise brows on live model
16.00 – 17.00 Questions, answers and CERTIFICATE, pictures, the end of training course.
DAY1
10.00 – 12.30 Theory
12.30 – 13.00 Short break
13.00 – 15.00 Drawing practice on paper and latex (fake skin)
15.00 – 16.30 Demonstration done by teacher (Teacher will show brow technique on live model)
16.30 – 17.00 Homework, Questions, answers and end of day 1.
DAY 2
10.00 – 11.00 Homework overview, questions, practice on latex (fake skin)
11.00 – 13.00 Practise brows on live model full support from teacher)
13.00 – 14.00 Short break
14.00 – 16.00 Practise brows on live model
16.00 – 17.00 Questions, discussions about practice work, answers and end of day 2.
DAY 3
10.00 – 11.00 Questions and practice on latex (fake skin)
11.00 – 13.00 Practise on lips live model (full support from teacher)
13.00 – 14.00 Short break
14.00 – 16.00 Practice on lips live model
16.00– 17.00 Questions, answers and the best part of three days of hard work – CERTIFICATE, pictures, the end of training course.
DAY 1
10.00 – 12.30 Theory
12.30 – 13.00 Short break
13.00 – 15.00 Drawing practice on paper and latex (fake skin)
15.00 – 16.30 Demonstration done by teacher (Teacher will show technique on live model)
16.30 – 17.00 Questions, answers and end of day 1.
DAY 2
10.00 – 11.00 Questions and practice on latex (fake skin)
11.00 – 13.00 Practise on fake skin
13.00 – 14.00 Short break
14.00 – 16.00 Practise on live model (full support from teacher)
16.00 – 17.00 Questions, discussions about practice work, answers and end of day 2.
DAY 3
10.00 – 11.00 Questions and practice on latex (fake skin)
11.00 – 13.00 Practise on live model (full support from teacher)
13.00 – 14.00 Short break
14.00 – 16.00 Theory exam
16.00– 17.00 Questions, answers and the best part of three days of hard work – CERTIFICATE, pictures, the end of training course.
